
three_js
Local Server and build tools
创建好一个html文件后,浏览器打开此时为了安全考虑浏览器会限制网页的功能(例如摄像头)。处理限制问题的方式是使用构建工具或者捆绑(bundler)。
构建工具可以使用:vite、webpack, gulp, parcel
vite优点:
- 安装快
- 运行快
- 不易出错
vite构建工具会对html/css/javascript做构建、优化、缓存破坏、源映射、运行于本地服务器
vite可以添加插件以处理多个特征例如对GLSL文件的支持、React功能的支持.
运行vite时需要Node.js环境。
Node
Node.js® 是一个免费、开源、跨平台的 JavaScript 运行时环境(不需要在浏览器上运行javascript),它让开发人员能够创建服务器、 Web 应用、命令行工具和脚本。
Node.js可以让javascript脱离浏览器网页运行。
-
查看版本:node -v
-
创建一个Nodejs项目:
-
建立一个文件夹
-
在文件夹中:
npm init -y初始化项目 -
在文件夹下会生成package.json文件
1
2
3
4
5
6
7
8
9
10
11
12
13
{
"name": "exercise", //项目名
"version": "1.0.0",
"description": "",
"main": "index.js", //入口文件
"scripts": {
"test": "echo \"Error: no test specified\" && exit 1"
},
"keywords": [],
"author": "",
"license": "ISC",
"type": "commonjs"
}
-
-
给项目安装插件
-
Vite:
npm install vite-
项目目录中多了一个node_modules目录(存放所有安装的插件库和插件依赖的库)
-
package.json文件被修改
1
2
3
4
5
6
7
8
9
10
11
12
13
14
15
16
{
"name": "exercise",
"version": "1.0.0",
"description": "",
"main": "index.js",
"scripts": {
"test": "echo \"Error: no test specified\" && exit 1"
},
"keywords": [],
"author": "",
"license": "ISC",
"type": "commonjs", //"module"
"dependencies": { //依赖
"vite": "^8.0.7" //^代表可容忍的版本
}
}- type类型为module时这个配置选项是为了说明该项目是基于ES模块导入与导出语法的(项目中的所有JavaScript模块都可以使用import和export关键字进行导入和导出),而不是CommonJS模块语法。
1
2
3
4
5
6
7
8
9
10
11
12
13
14
15
// utils.js
export function add(a, b) {
return a + b;
}
export function multiply(a, b) {
return a * b;
}
// main.js
import { add, multiply } from './utils.js';
console.log(add(2, 3)); // 输出: 5
console.log(multiply(2, 3)); // 输出: 6
- type类型为module时这个配置选项是为了说明该项目是基于ES模块导入与导出语法的(项目中的所有JavaScript模块都可以使用import和export关键字进行导入和导出),而不是CommonJS模块语法。
-
多了一个package-lock.json文件,包含了使用np m安装依赖时的信息。如果有package-lock.json文件npm会尝试使用完全相同的版本,而不是容忍版本。该文件是可选的,存在时其他开发者会得到确切的版本,不存在时会得到容忍版本。
-
json文件的目的是为了项目分享,而不需要直接给其他开发者所有依赖库node_modules
-
-
Three.js: npm install three
-
根据package.json安装依赖:npm install
-
安装指定版本依赖并将版本索引写入package.json中:
npm install --save gsap@3.5.1
-
npm:nodejs 包管理工具。
在安装的 nodejs 的时候,npm 也会跟着一起安装,它是包管理工具。
npm 管理 nodejs 中的第三方插件。他的作用与Ruby中的 bundler及Java中的maven相同,都是对第三方依赖进行管理的。
nvm:nodejs 版本管理工具。
也就是说:一个 nvm 可以管理很多 node 版本和 npm 版本。
WebGL
WebGL是一个JavaScript API
-
可以快速渲染(render)三角形
-
可以在画布上展示结果
-
兼容当前的浏览器
-
使用GPU渲染:一旦几何上的点被放置好(我们看不到点构成的东西),GPU就开始并行的画这些点构成的三角形中的每一个像素使我们看到东西。
-
着色器shaders: 命令集合,包含放置点,给像素涂色等
-
我们需要给着色器信息,包括变换、相机坐标、点的位置、上色等信息
-
原生的WebGL处理这些内容十分复杂,所以使用Three.js框架帮我们处理WebGL流程。
Three.js
Three.js是一个JavaScript库,MIT授权,是WebGL的上层框架
基础内容
Vite构建项目
1、创建index.html
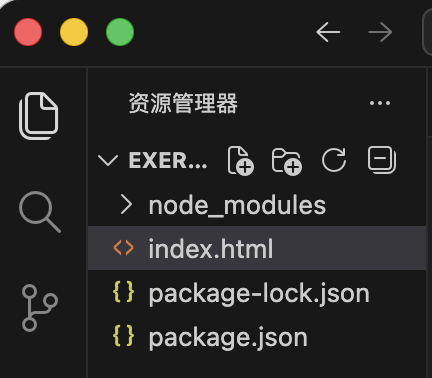
vscode中输入!会自动生成代码框架
1 |
|
不要直接打开index.html文件,违背了初衷(在本地服务器运行该文件,而不是直接使用浏览器)
2、修改package.json配置文件
回到package.json文件修改scripts中的内容
1 | { |
3、在终端运行dev和build命令(为什么是dev和build因为我们在json文档中起的名字是这两个,可以换成别的)
要在package.json同级目录中运行下面的命令
npm run dev或者npm run build
这个脚本告诉我们:1)触发了vite,2)而vite是依赖关系dependencies中的一部分, 3)vite依赖在node_module目录中
4、复制生成的URL并粘贴到自己的浏览器中
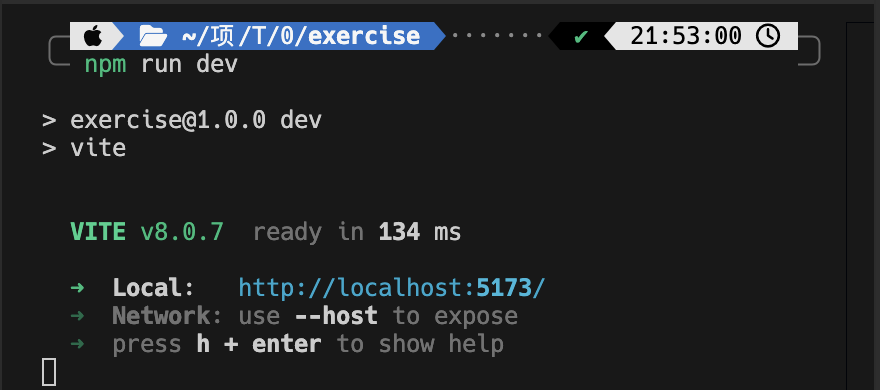
当前终端被卡住用来运行服务器
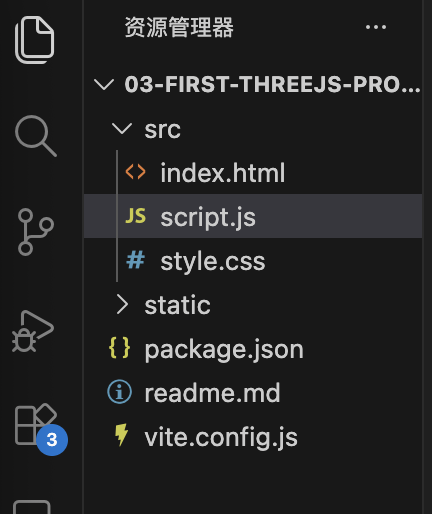
项目中创建其他javascript脚本
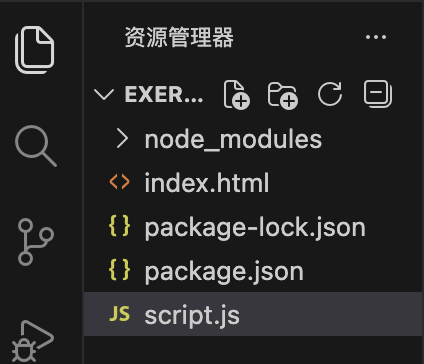
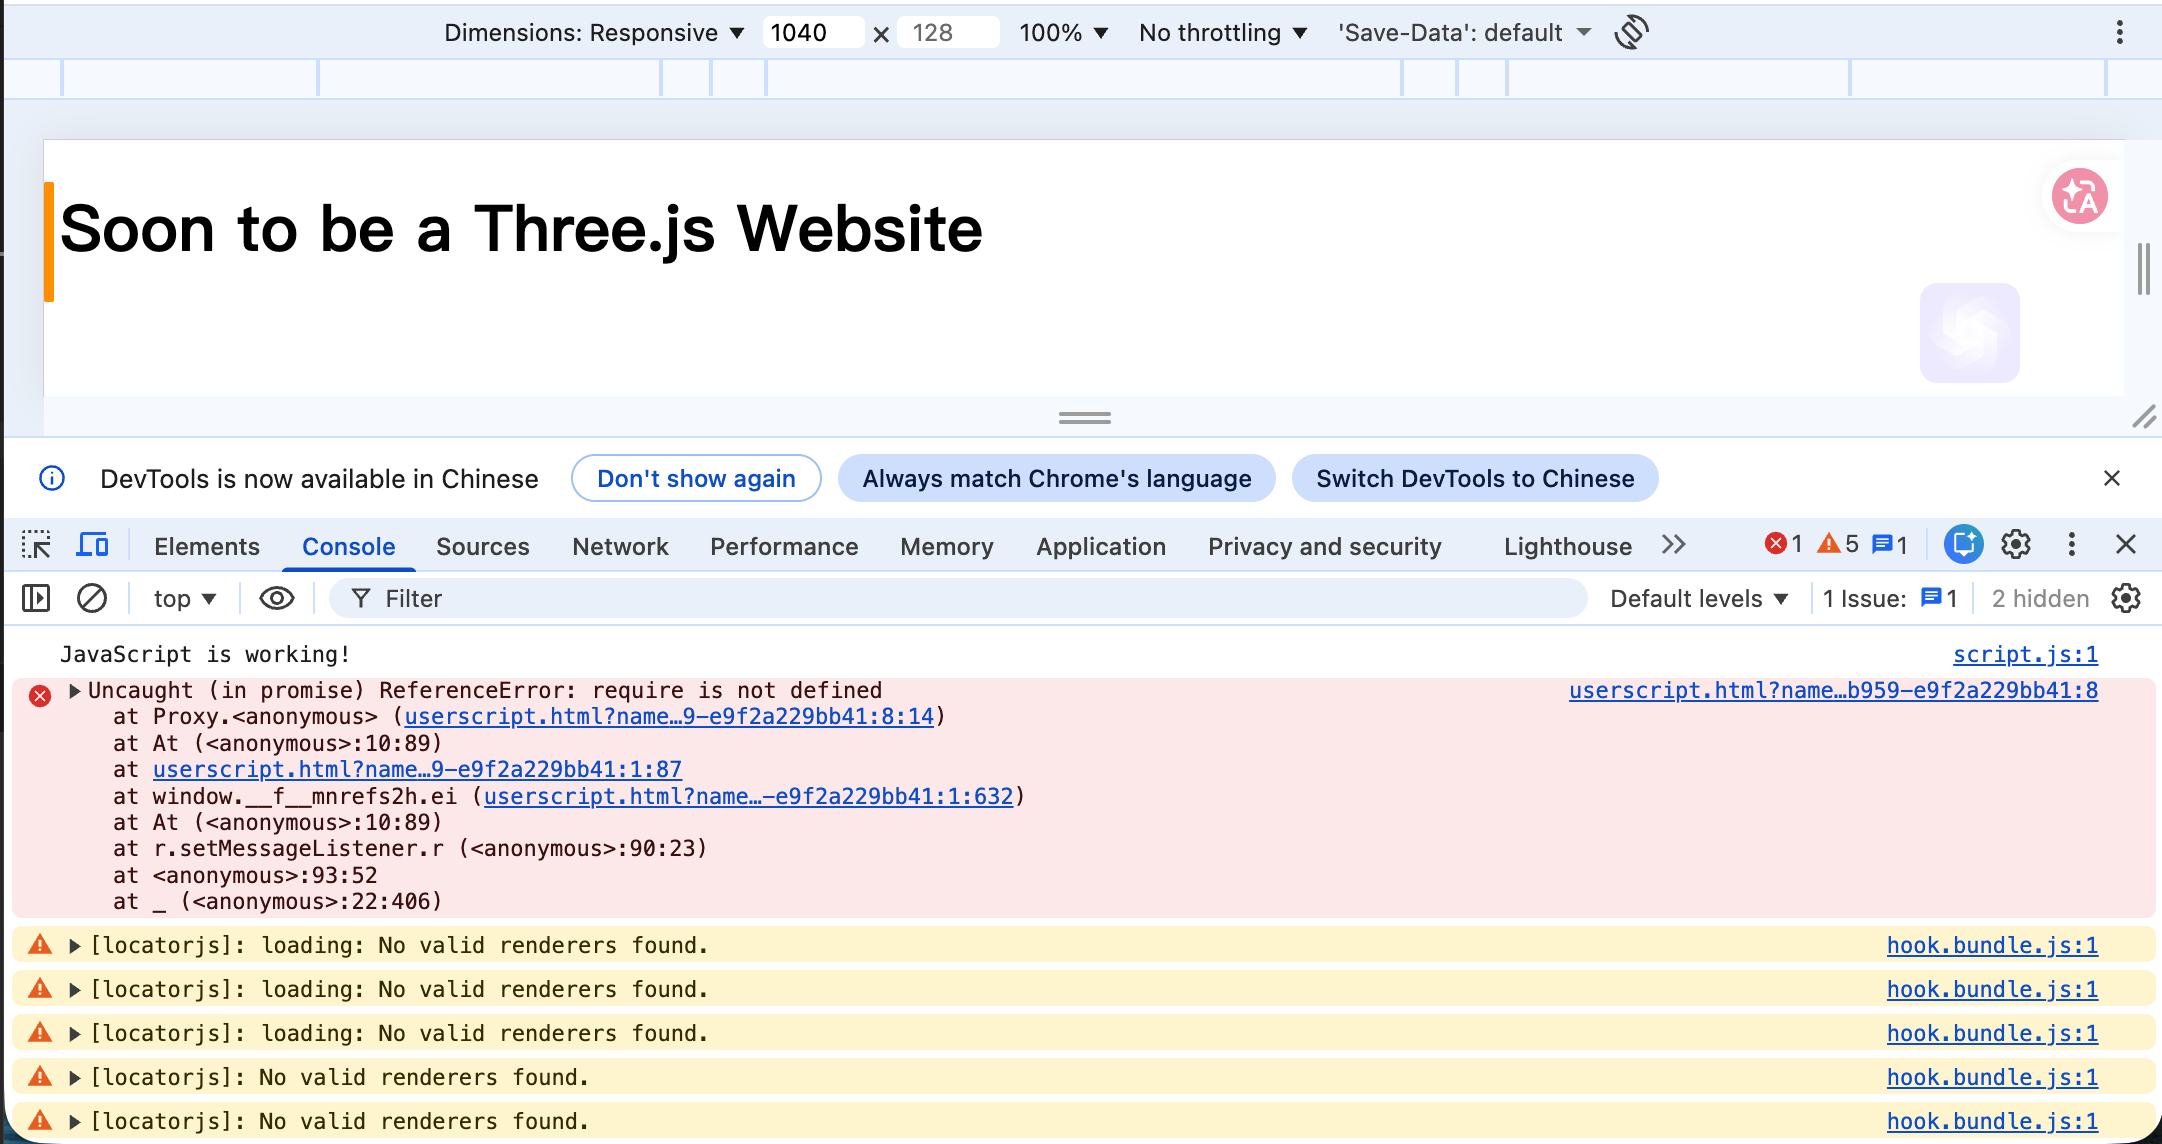
script.js
1 | console.log('JavaScript is working!') |
index.html
1 |
|
script标签中type属性字段用于导入模块,否则script.js中的功能导入不进去。
打开网页的DevTools(F12或者cmd+option+I)
vite使用热重载,保存脚本后自动更新
当vite启动服务器占用终端,如何安装three.js依赖
- 打开一个新的终端
- 关掉当前服务器
安装threejs依赖
npm install three
three插件被放到node_modules中,而package.json和package-lock.json包含该依赖的引用
从three依赖包(插件)中导入three.js
在js文件中输入
1 | import * as THREE from 'three'; //和python的顺序不一样,其中three是node_module中的three插件包,不需要写出路径例如./node_module/three, node,js(vite)会帮你取到, 模块的别名THREE |
THREE模块中包含大多数Three.js中的类和属性
使用THREE模块中的类
-
实例化
1
2const scene = new THREE.Scene();
const sphereGemometry = new THREE.SphereGeometry(1.5, 32, 32);
创建4件东西
- Scene
- Objects
- Mesh:是一个包含几何形状Geometry和材料Material的组建
- Geometry: BoxGeometry
- Material: MeshBasicMaterial, 属性包括
- color:1)0xff0000, 2)‘#ff0000’, 3)‘red’, 4)THREE.Color类的实例
- 创建Mesh:THREE.Mesh(geometry, material)
- transform变换组件:
- position: three.js 中z是前后,x是左右, y是上下
- rotation
- scale
- scene.add(mesh): 将物体网格放入场景中
- Mesh:是一个包含几何形状Geometry和材料Material的组建
- Camera: 没有相机就无法渲染物体,物体就看不到,当渲染时要使用的相机视角,可以有多个相机但只使用其中一个。
- PerspectiveCamera 主要的参数
- field of view:视野,透视点的张角
- aspect ratio: 画布宽高比
- transform变换组件:
- position
- rotation
- scale
- 相机加入场景
- PerspectiveCamera 主要的参数
- Renderer: 渲染从相机的视角看到的场景,将结果画到画布上(即要求渲染器用相机对着场景拍一张照片)
- 在html中创建画布canvas
- 在index.html文件中创建画布标签<canvas>
- <canvas>标签必须在<script>标签(加载javascript脚本)之前创建
- <canvas>中使用class属性字段, 可以在javascript中通过canvas的class字段获取(引用)该canvas
- 在javascript中引用画布canvas,引用对象位置一般放到import导入语句下面,即在开头导入引用
- document.querySelector(‘<标签名>.<类名>’),该语句是在页面中、页面中的元素中获取东西
- 创建渲染器
- WebGLRenderer, 参数是一个包含画布canvas的对象
- WebGLRenderer({canvas:canvas})
- WebGLRenderer, 参数是一个包含画布canvas的对象
- 调整渲染器属性
- size:setSize(size.width, size.height)
- 开始渲染
- renderer.render(scene, camera)
- 在html中创建画布canvas
script.js文件
1 | import * as THREE from 'three' |
index.html
1 |
|
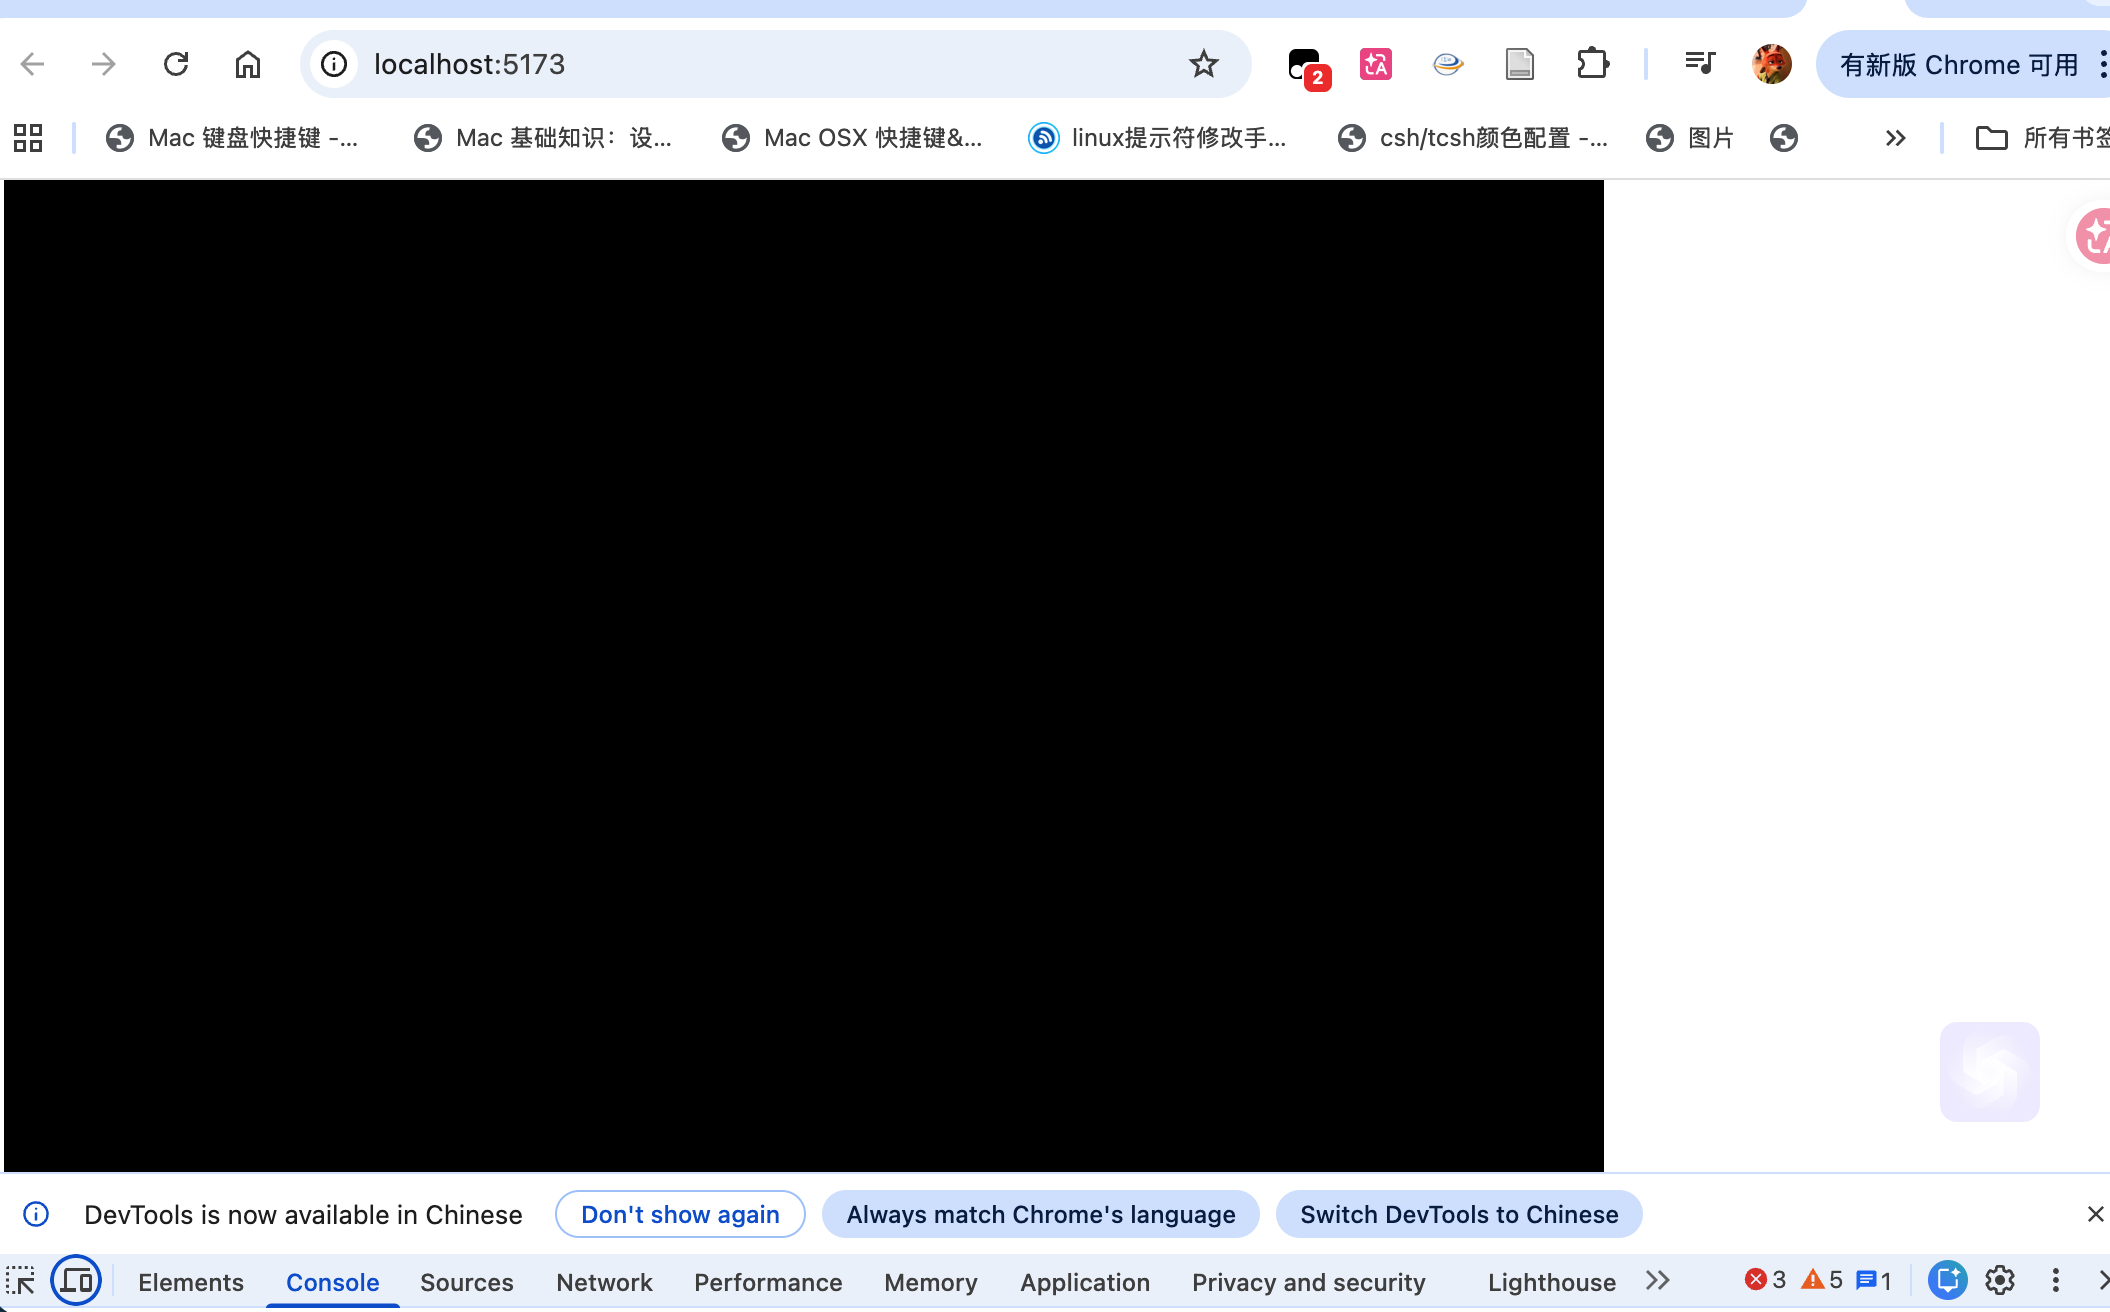
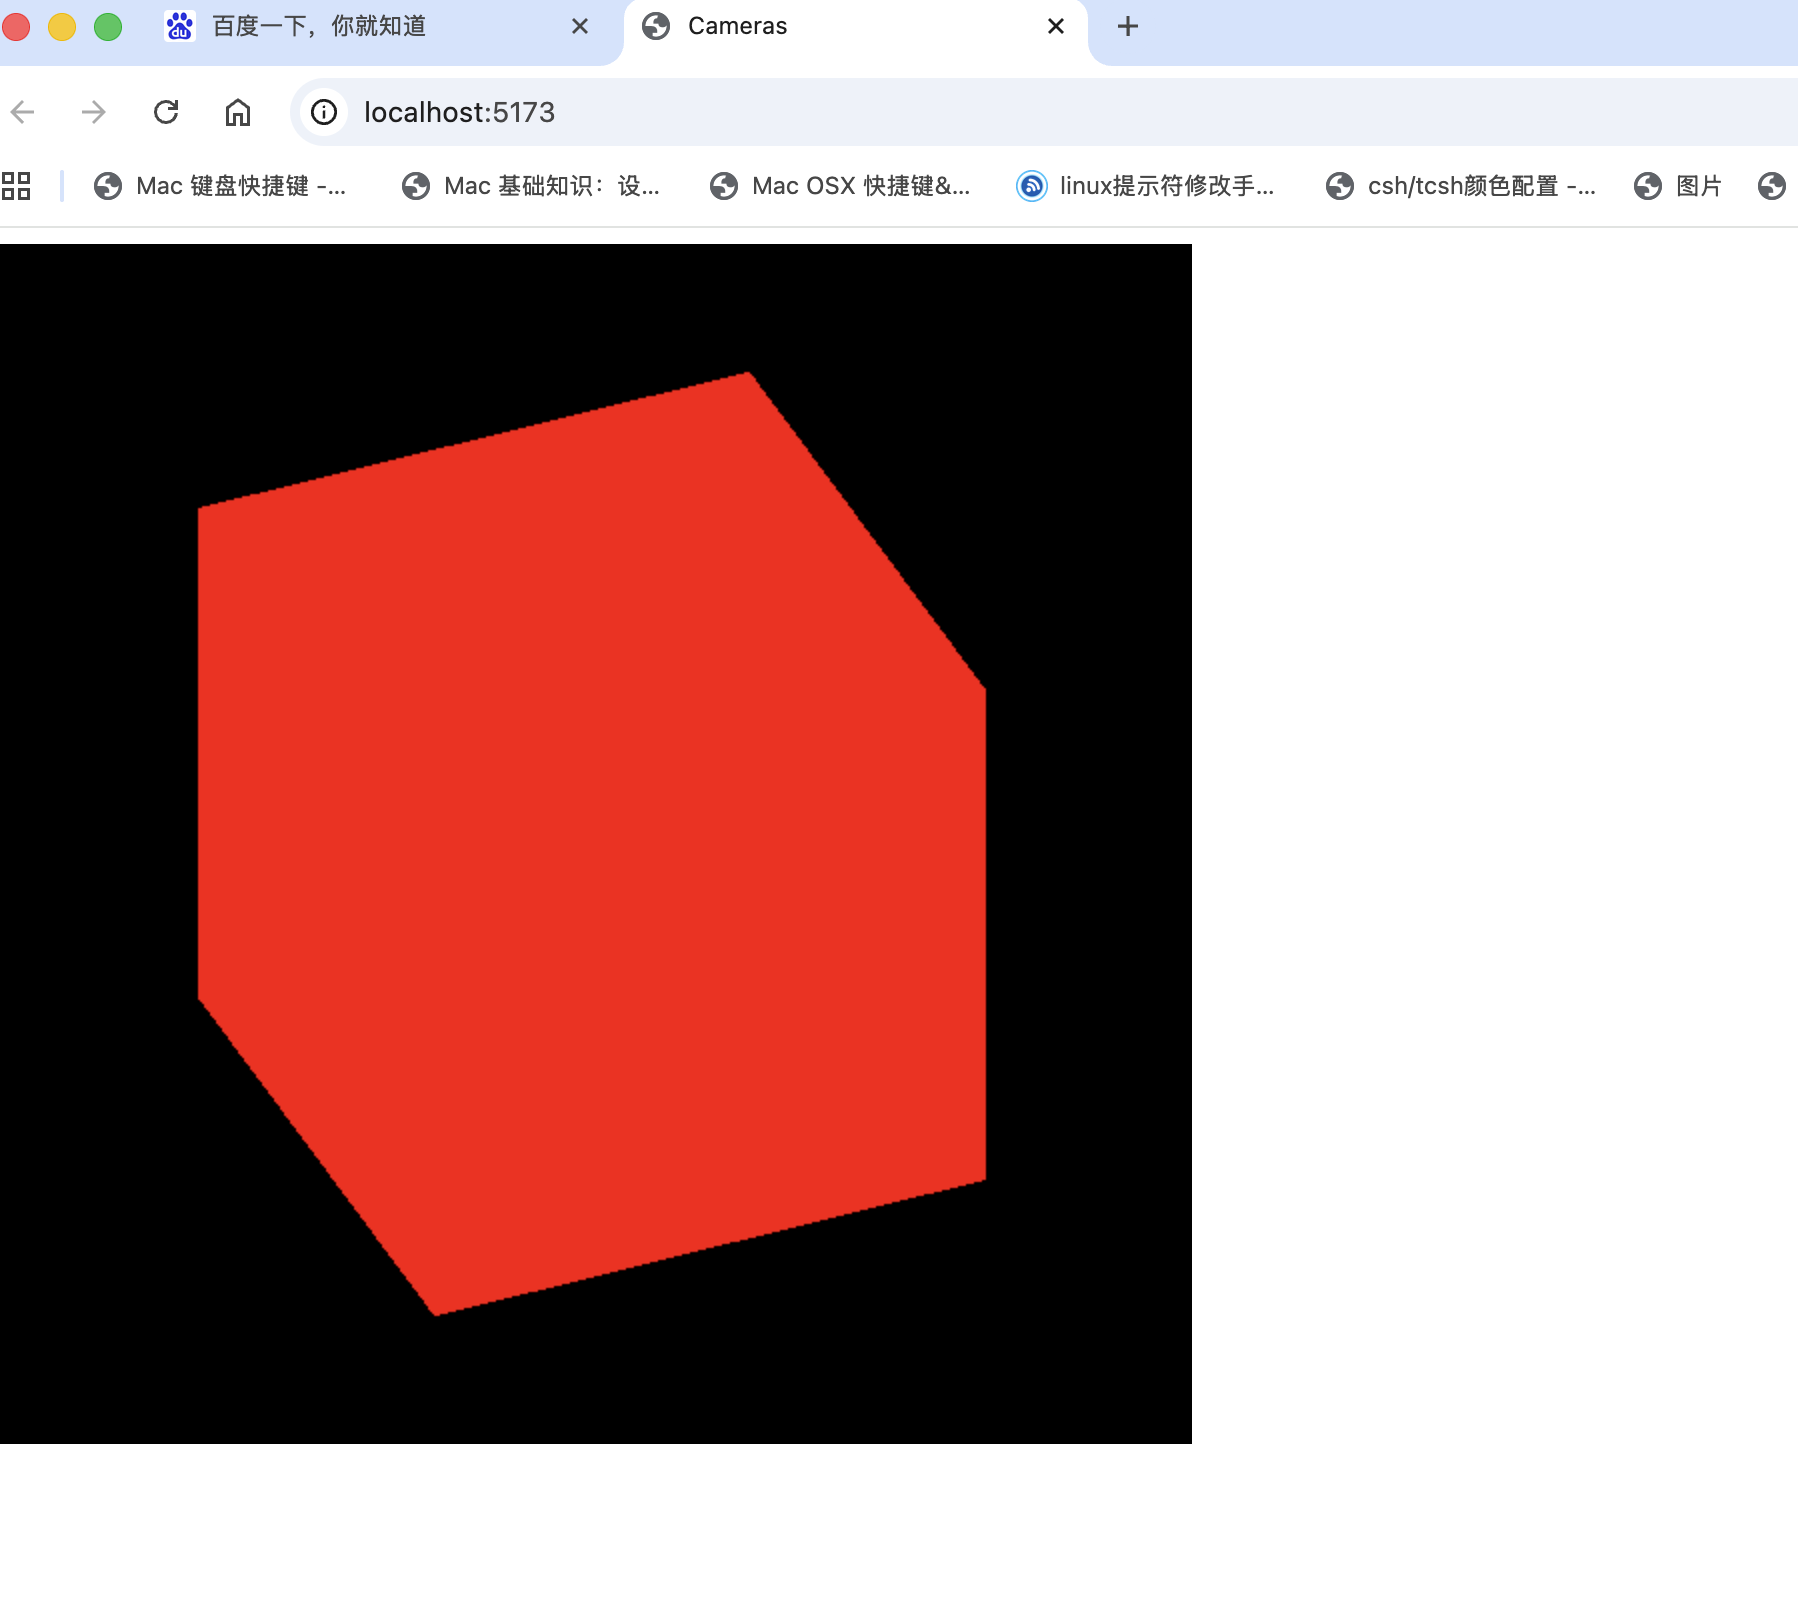
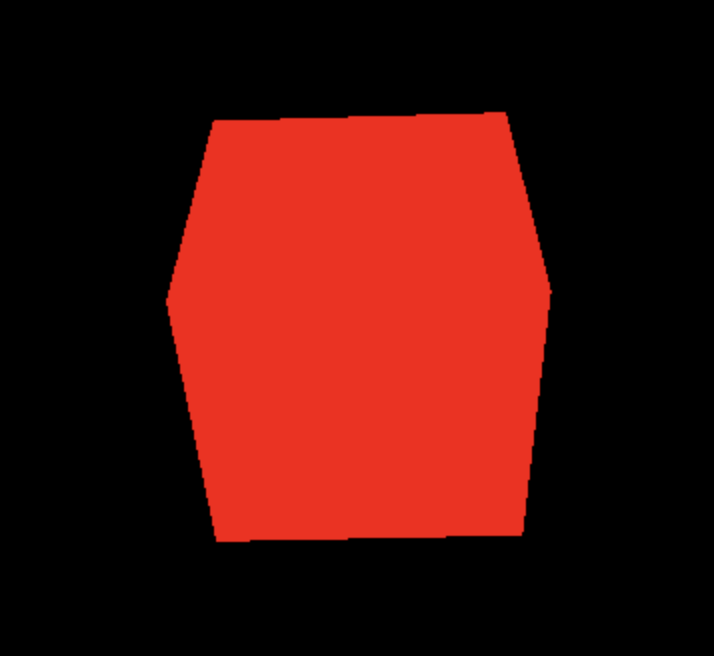
如果不设置物体、相机加入场景中的位置,默认是在场景中心,相机在立方物体内部,相机看不到任何东西。
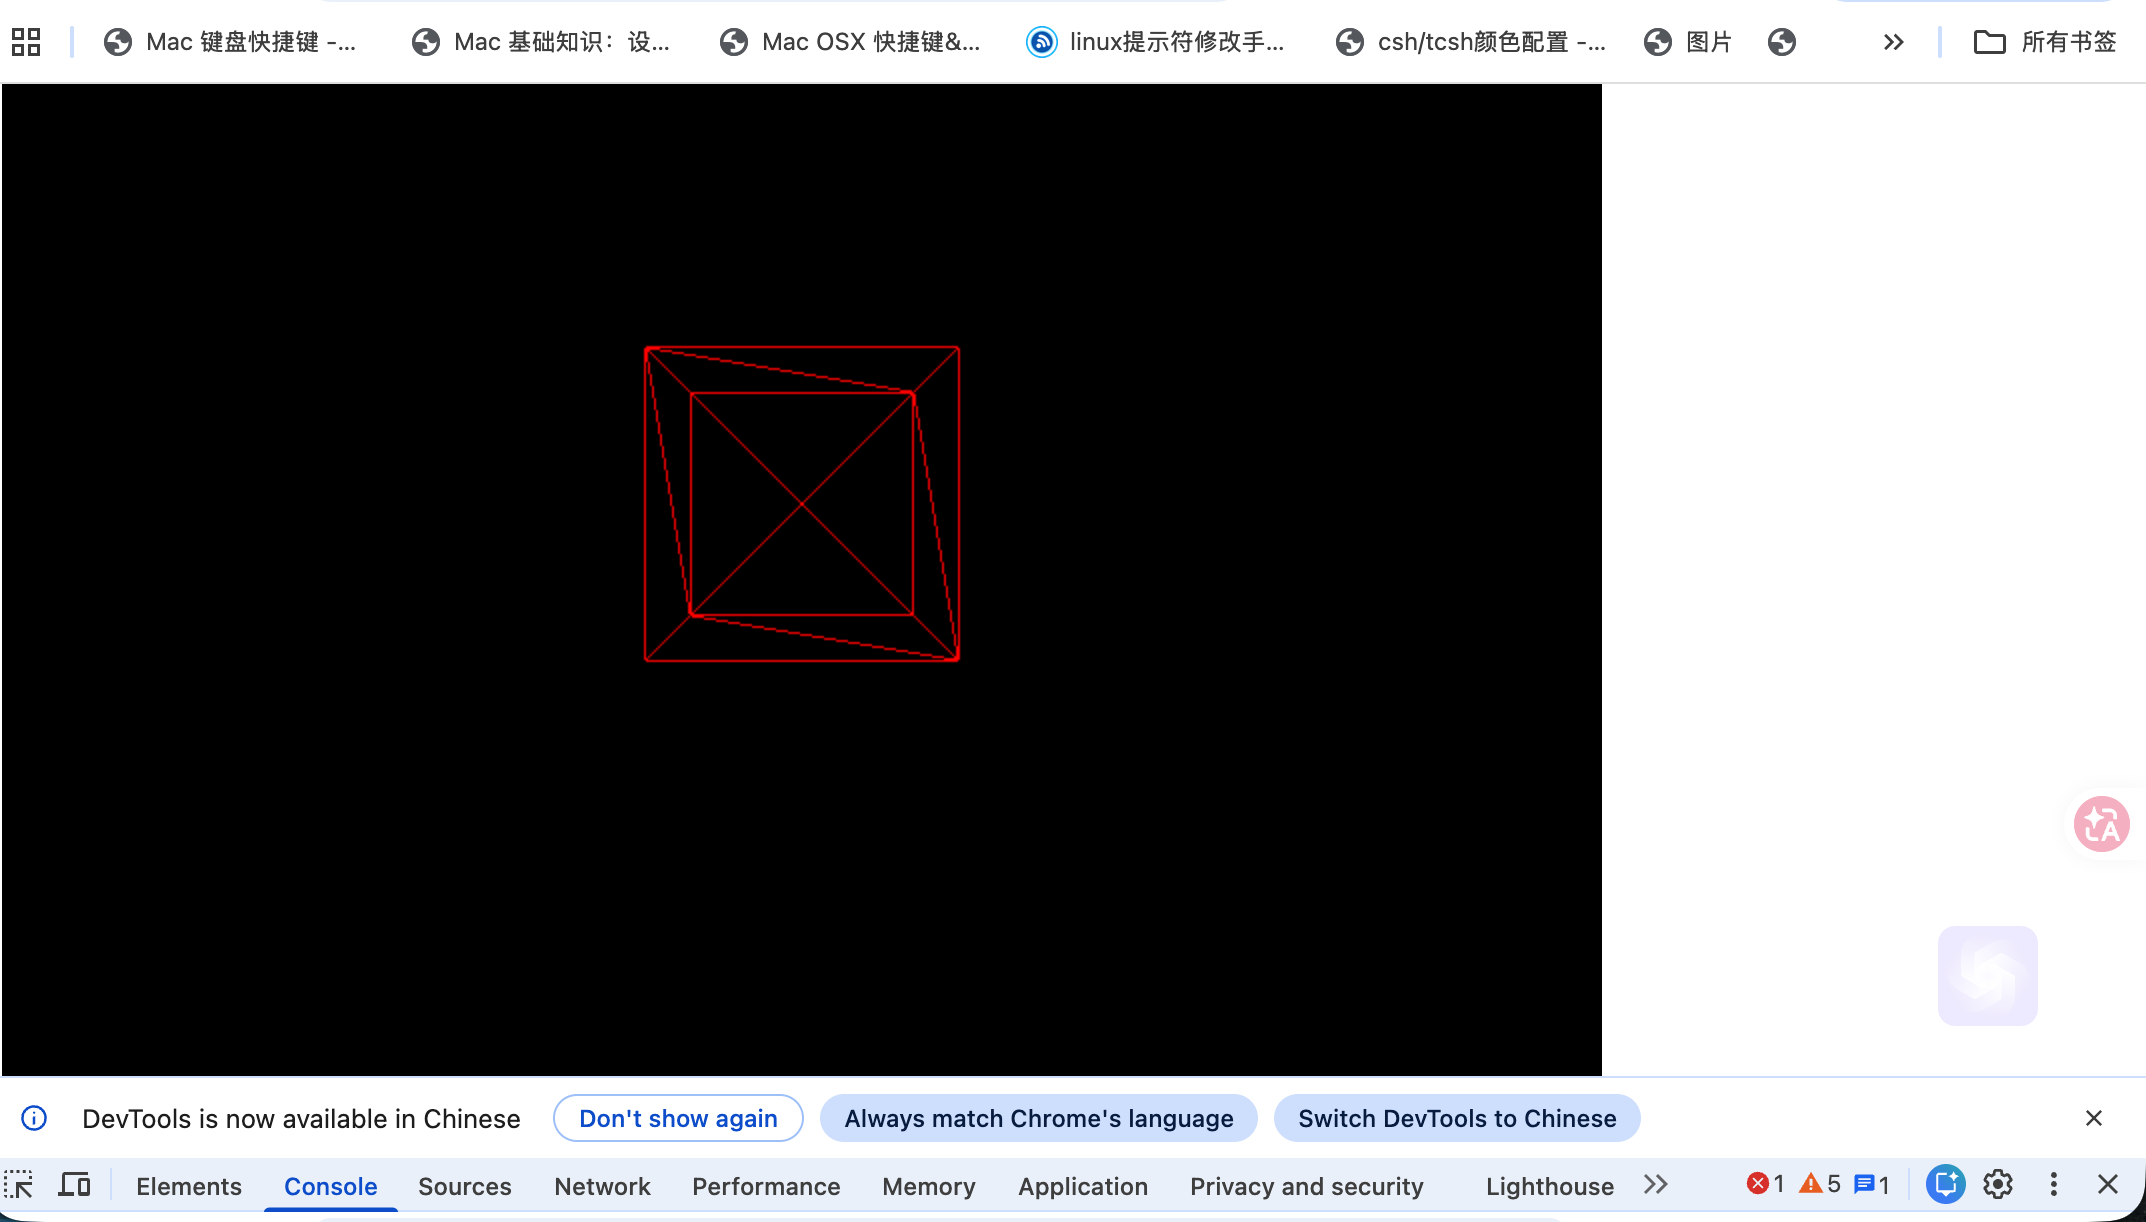

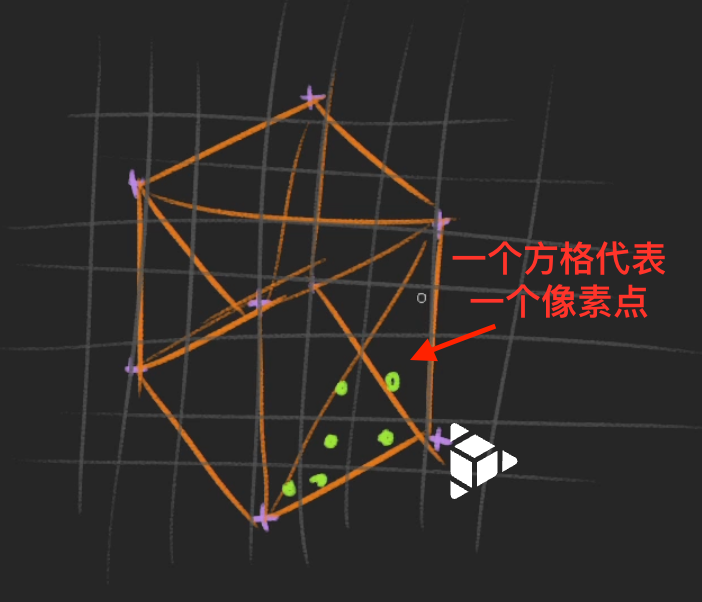
可以看到立方物体是由三角形拼成的。
如何使用别人分享的项目
这是一个别人共享的项目,没有依赖包node_module目录和package-lock.json,通过在项目目录中(和package.json同级)运行npm install来创建node_module依赖包目录和package-lock.json。
此项目中使用npm run dev后会出现两个URL,同时会自动在浏览器中打开URL。

这是由于vite.config.js配置文件的关系
1 | import restart from 'vite-plugin-restart' |
static文件夹中用于存放一些资源文件例如图片、音频、视频、纹理、模型、字体等或目录。你只需要在url路径中输入static目录中的文件或目录就可以改变方块材质(不需要输入static目录),例如http://localhost:5173/door.jpg
物体变换
transform4个属性
-
position?: THREE.Vector3(右手系),加粗为正轴
-
x:左右
-
y:上下
-
z:前后
-
Vector3类方法
-
length():场景中心到点的距离
-
one.position.distanceTo(another.position): 两个指定点的距离
1
mesh.position.distanceTo(new THREE.Vector3(0,1,2))
-
normalize():向量长度归一化
-
set(x,y,z): 设置当前坐标位置
-
-
-
scale?:THREE.Vector3
- position
-
rotation或者quaternion
- rotation?: THREE.Euler
- yaw偏航:沿y轴旋转
- pitch俯仰:沿x轴旋转
- roll翻滚:沿z轴旋转
- 问题:1、万向锁(中间轴旋转90度),2、90度附近的出现不连续的角度变化。
- 解决:1、改变旋转轴的旋转顺序
- mesh.rotation.reorder(‘yxz’) 该语句必须放在旋转坐标轴之前使用才能看到效果,否则显示的依旧是之前的结果,新的旋转次序没有被使用。
- quaternion
- 四元数$(x,y,z,w=cos(\frac{\theta}{2}))$随旋转轴和角度更新
- lookAt(new THREE.Vector3(0,-1,0)):3D物体的lookAt方法可以旋转视角将z轴对准提供的目标坐标
- z轴:对象坐标与目标坐标的向量归一化作为对象的新z轴
- x轴:默认的(0,1,0)与新z轴叉乘得到新x轴
- y轴:新z轴与新x轴叉乘得到新y轴
- rotation?: THREE.Euler
组成一个变换矩阵,注意:变换必须放到渲染部分之前才能看到效果,通常放到创建对象之后,对象加入场景之前。
辅助功能
- THEE.AxesHelpher(size?:number):显示坐标轴, 参数size设置轴的长短
- 创建完后需要加入场景
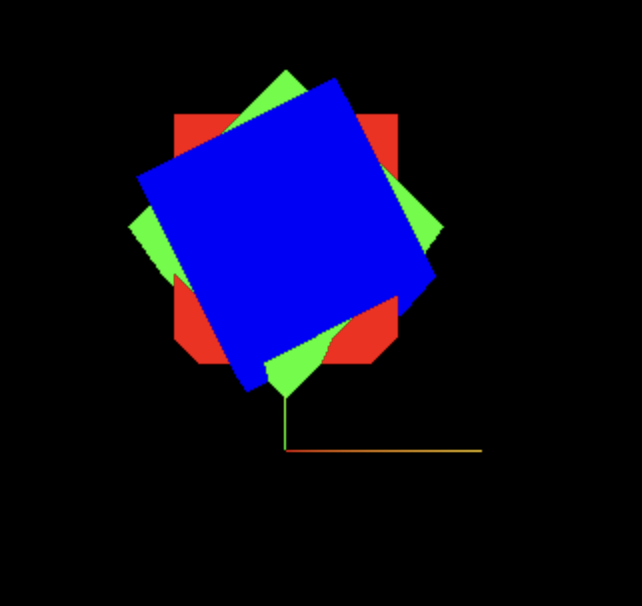
组Group
const group = new THREE.Group()
scene.add(group)
添加三个方块到组中而不是场景中
group.add(cube1)
1 | const group = new THREE.Group() |
动画Animation
JavaScript制作动画过程
- 移动对象物体
- 拍照
- 在移动一下
- 拍照
- 反复过程
使用requestAnimationFrame(回调函数),如果你想让一个函数功能在每个帧中都被执行一次就在该函数中调用requestAnimationFrame,目的是通过requestAnimationFrame告诉浏览器在下一次重绘(通常与显示器的刷新率同步,如 60Hz 对应大约 16.67ms 一次重绘)之前执行指定的回调函数, 注意requestAnimationFrame接收的是回调函数(函数名)而不是回调函数的返回值(函数名())。
使用window.cancelAnimationFrame(requestID) 取消动画请求。
1 | //创建函数并调用 |
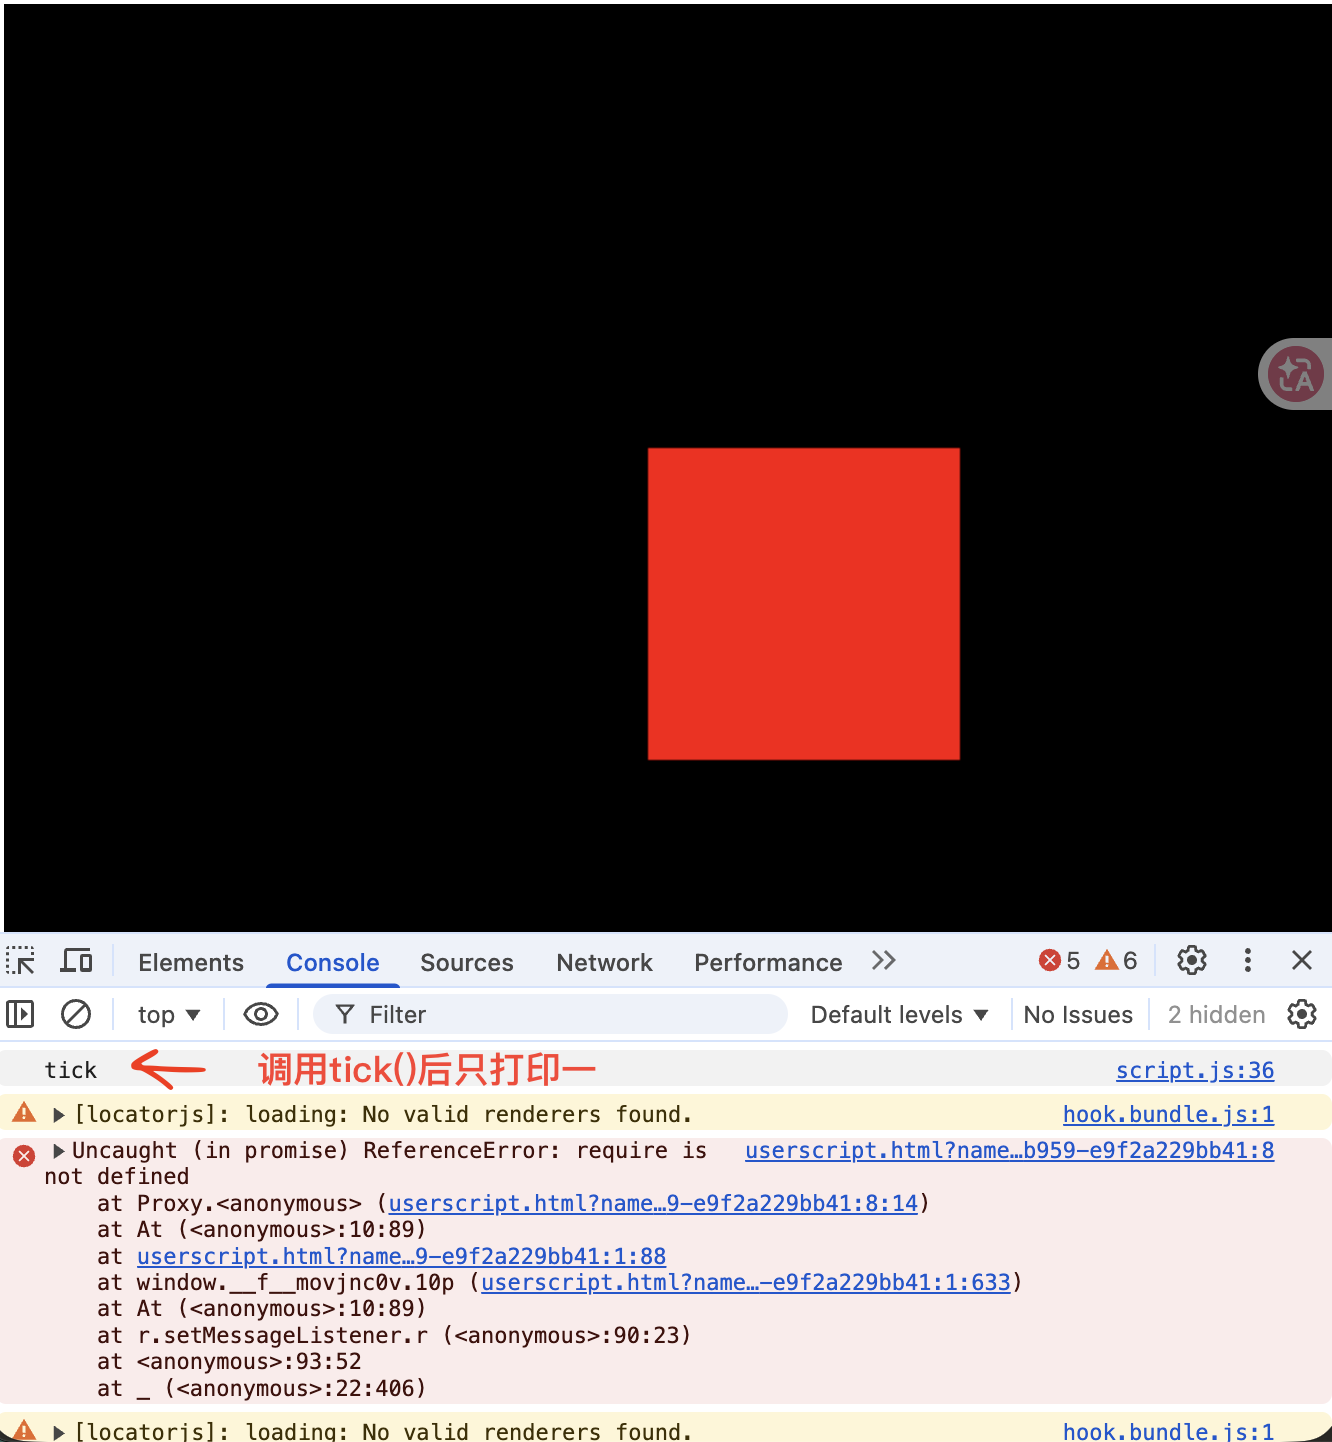
1 | const tick = () => { |
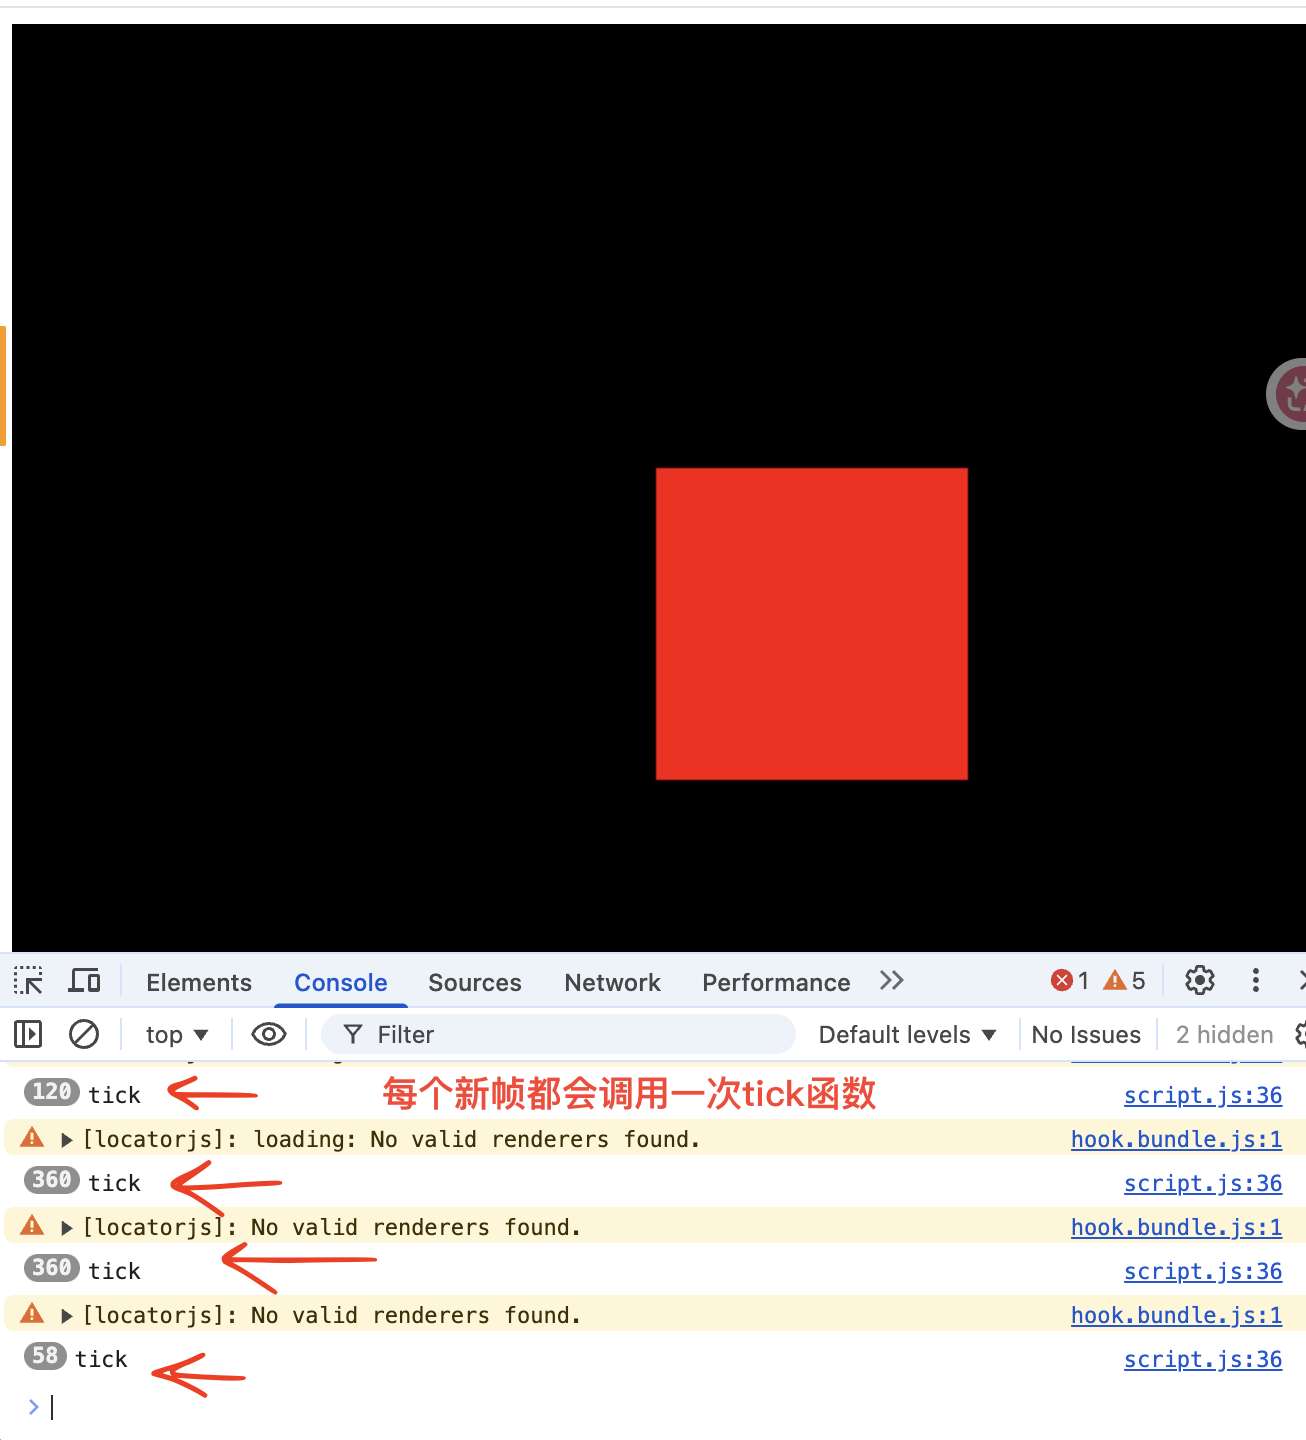
一般屏幕帧率为60FPS,问题是如何在不同帧率下动画保持一致(例如物体移动的快慢)。
- 通过获取自上一帧到现在的时间差解决帧率问题
- 使用帧与帧之间的时间间隔乘移动速度解决移动距离在相同时间内保持相同,Date.now()获取当前时间戳。
1 | let deltax = 0.9; |
- 使用Clock
- THREE.Clock()和getElapsedTime()
从定义clock开始计时,每次执行getElapsedTime就会获取从计时开始到使用调用时的时间间隔
- THREE.Clock()和getElapsedTime()
1 | const clock = new THREE.Clock() |
动画库
更好的控制动画例如使用过渡、时间线等。
GSAP (Green Sock Animation Platform)
- 创建过渡动画
gsap.to(目标对象, 终点属性对象)
目标对像例如:mesh.position
属性对象例如:{duration:1, delay:2, x:2}
gsap.from(目标对象, 起点属性对象)
当连续调用两个gsap.to()对同一个元素且使用相同属性时,后一个动画会覆盖前一个,而不是追加。这是因为 GSAP 默认会对同一属性进行“覆盖式”补间(tween),而非叠加。
1 | gsap.from(mesh.position, {duration:4, delay:2, x:-2}); |
要使用timeline实现动画追加, 但无法循环播放只播放一遍
1 | //gsap |
动画循环播放
1 | const tl = gsap.timeline({repeat:-1, , repeatDelay:0:0}); |
或者使用yoyo:true使每次重复动画沿相反方向进行
1 | const tl = gsap.timeline({repeat:-1, , repeatDelay:0:0, yoyo:true}); |
相机
-
在threejs中Camera是一个抽象类,不能直接使用。
-
ArrayCamera可以从多个相机视角下渲染场景。
-
StereoCamera仿照人眼使用两个摄像机渲染场景,产生立体效果。
-
CubeCamera从6个方向(上下、左右、前后)渲染所围场景,生成一个渲染环境。
-
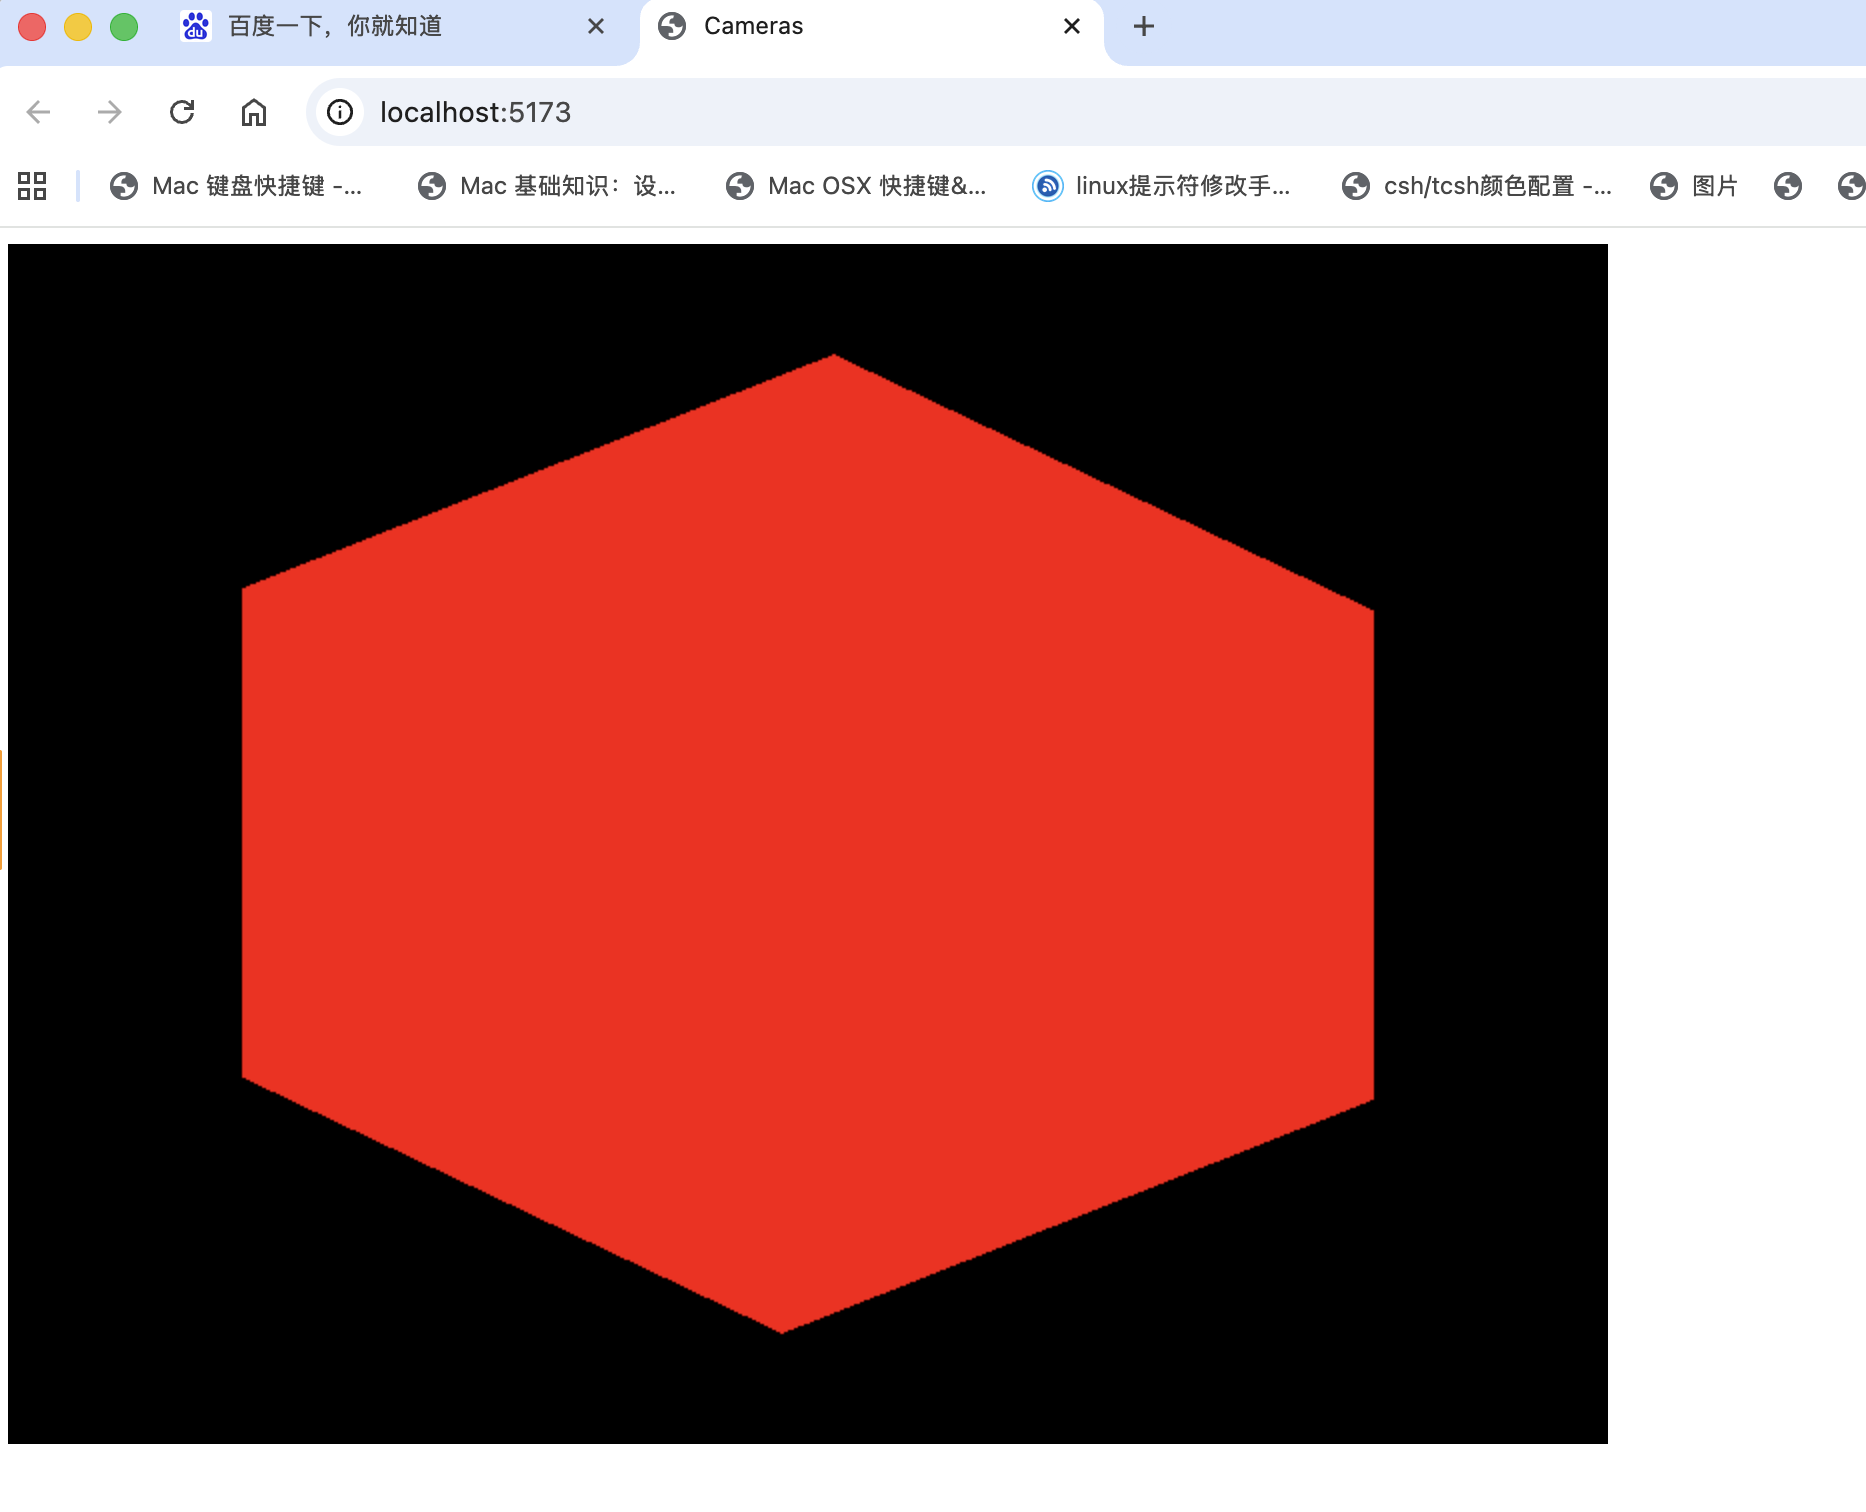
OrthographicCamera正交相机不使用透视渲染场景。不论物体远近用正交相机渲染出来的物体尺寸没有变化。
- 参数(没有视场角度大小):只提供相机视口大小(left, right, top, bottom)和能看多远(far/near)
- 在矩形画布(黑色)上渲染正方形区域时比例失调,需要修改画布尺寸的宽高比;或者在正交摄像机中视口的边长乘上画布的宽高比例。
-
PerspectiveCamera透视相机使用透视渲染场景。
- 第一个参数:视场大小,垂直方向的视角,单位度。
- 第二个参数:宽高比(aspect ratio)。
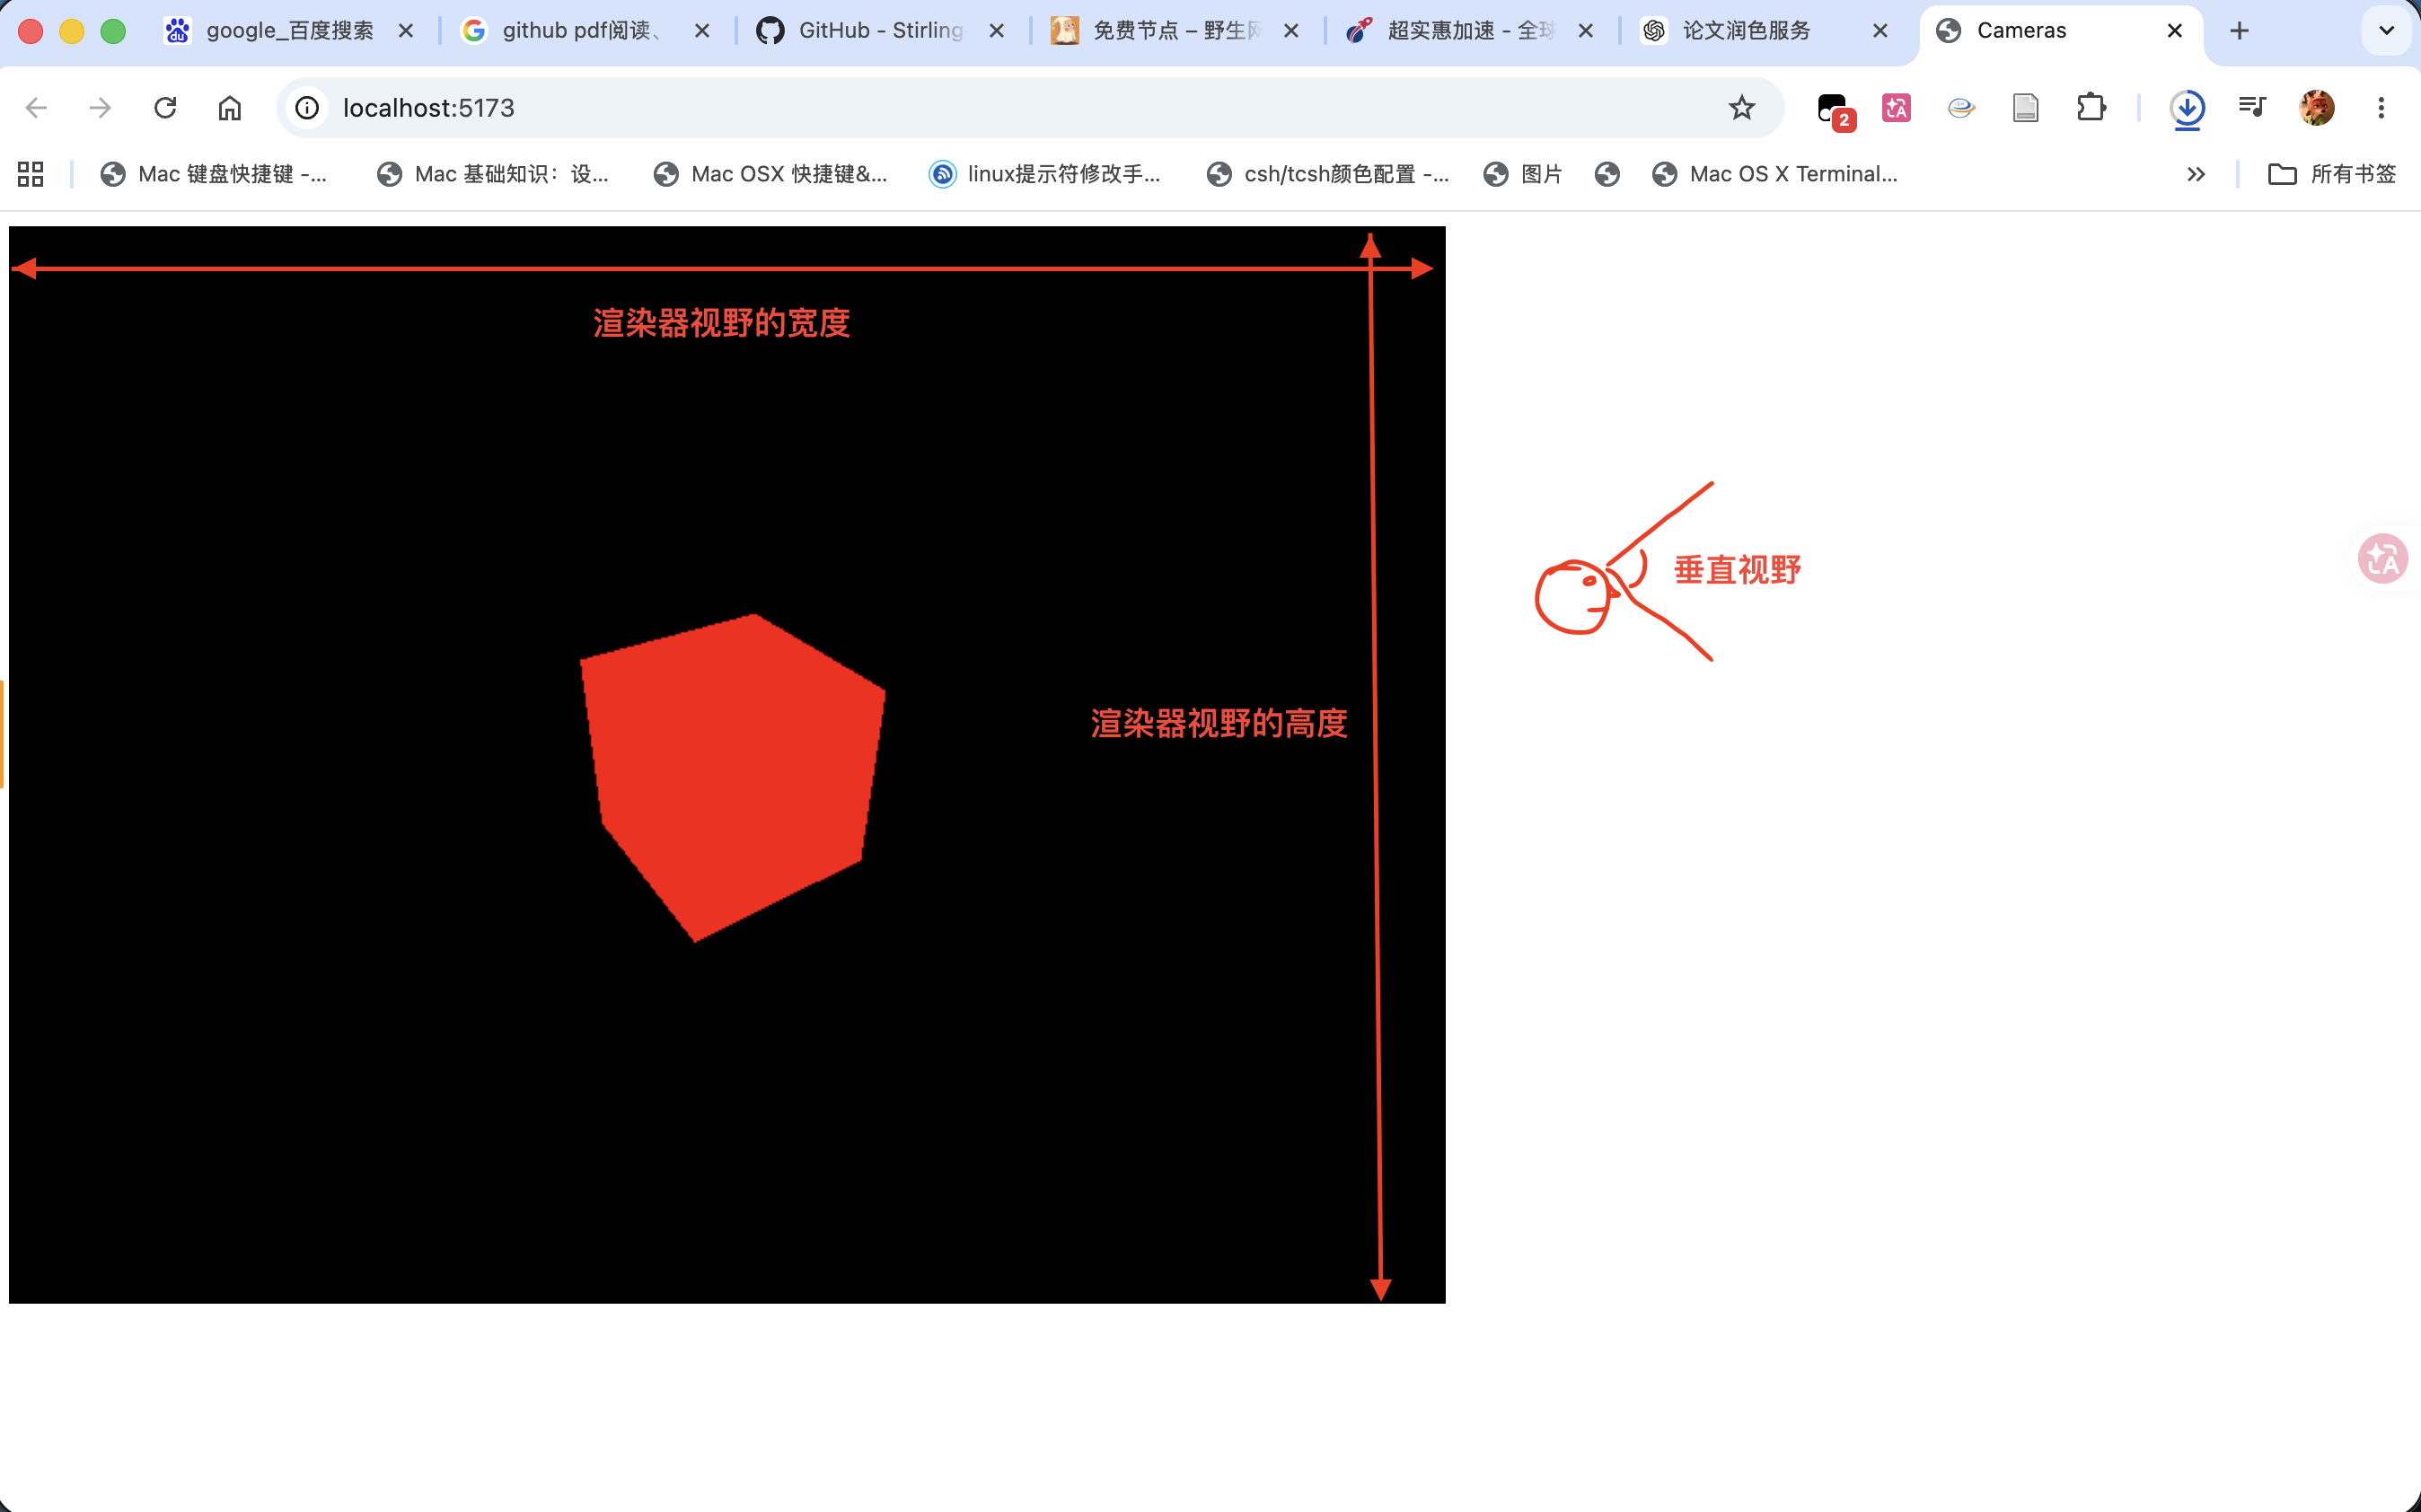
- 第三/四个参数:near/far, 指相机能够看多近和多远,任何物体对象或物体的一部分比near近或者比far远都不会被显示出来。
- 不要设置near和far太小0.0001和太大999999防止z-fighting (gpu无法判断两个物体的前后关系)
控制相机
根据鼠标cursor来移动相机和旋转相机
- 事件控制:需要获取页面中的光标坐标,添加事件监听捕捉鼠标移动事件和检索事件的坐标
1 | const cursor = { |
- 使用动画请求
requestAnimationFrame(回调函数)。
1 | const tick = () => |
three.js也提供了一些现成的控制模块
-
使用
DeviceOrientationControls控制方向,他会检索设备方向。 -
FlyControls:飞行模式控制以第一人称视角控制相机,沿三个坐标轴旋转,前进和后退。你可以在3D空间中任意变换摄像机,并且无任何限制。 -
FirstPersonControls: 只能做沿x轴旋转的俯仰,沿y轴旋转的偏航,不能做沿z轴旋转的滚动。 -
PointerLockControls:封装了鼠标移动(movementX/Y)到相机旋转(yaw/pitch)的逻辑,并支持 WASD 移动。 -
OrbitControls: 用于控制相机围绕目标点旋转、缩放和平移的交互组件,但是俯仰角度有限制区域,无法看到地面背面。- 实例化
OrbitControls对象,我们无法通过THREE.OrbitControls类建立对象,OrbitControls是Three.js的一部分但是不在导入的THREE包中,需要导入Three.js的其他包在node_modules目录中(/node_modules/three/examples/jsm/controls/OrbitControls.js)
1
import { OrbitControls } from 'three/examples/jsm/controls/OrbitControls.js'
- 在相机后边添加控制相机的代码
const controls = new OrbitControls(camera, canvas)- 参数是一个需要更新的相机参数,一个是DOM元素参数(来自html文件中的元素,在这个元素上进行事件监听)
OrbitControls除了监听鼠标移动事件还会监听其他事件例如鼠标点击、触摸板、鼠标按下、鼠标抬起。- 修改相机默认旋转、放缩中心坐标
controls.target.y=2,需要使用更新才能显示修改后的效果controls.update()
- 添加阻尼,让相机随鼠标移动时具有惯性,而不是鼠标听止移动相机停止移动
controls.enableDamping = truecontrols.update()要放到每帧中更新一次,即放到动画中更新,否则没有阻尼效果。
- 实例化
1 | import * as THREE from 'three' |
TrackballControls:控制同OrbitControls但是没有俯仰角度限制。TransformControls: 3D 物体交互控制器,用于在网页中通过鼠标/触摸直观地平移、旋转和缩放场景中的对象(类似 Blender 或 Unity 的变换工具)。控制的不是相机。DragControls: 允许用户拖动THREE.Object3D(如 Mesh、Group)在屏幕平面内平移(默认沿垂直于相机视线的平面移动)。用于在 3D 场景中通过鼠标(或触摸)拖拽物体。控制的不是相机。
全屏和调整屏幕大小
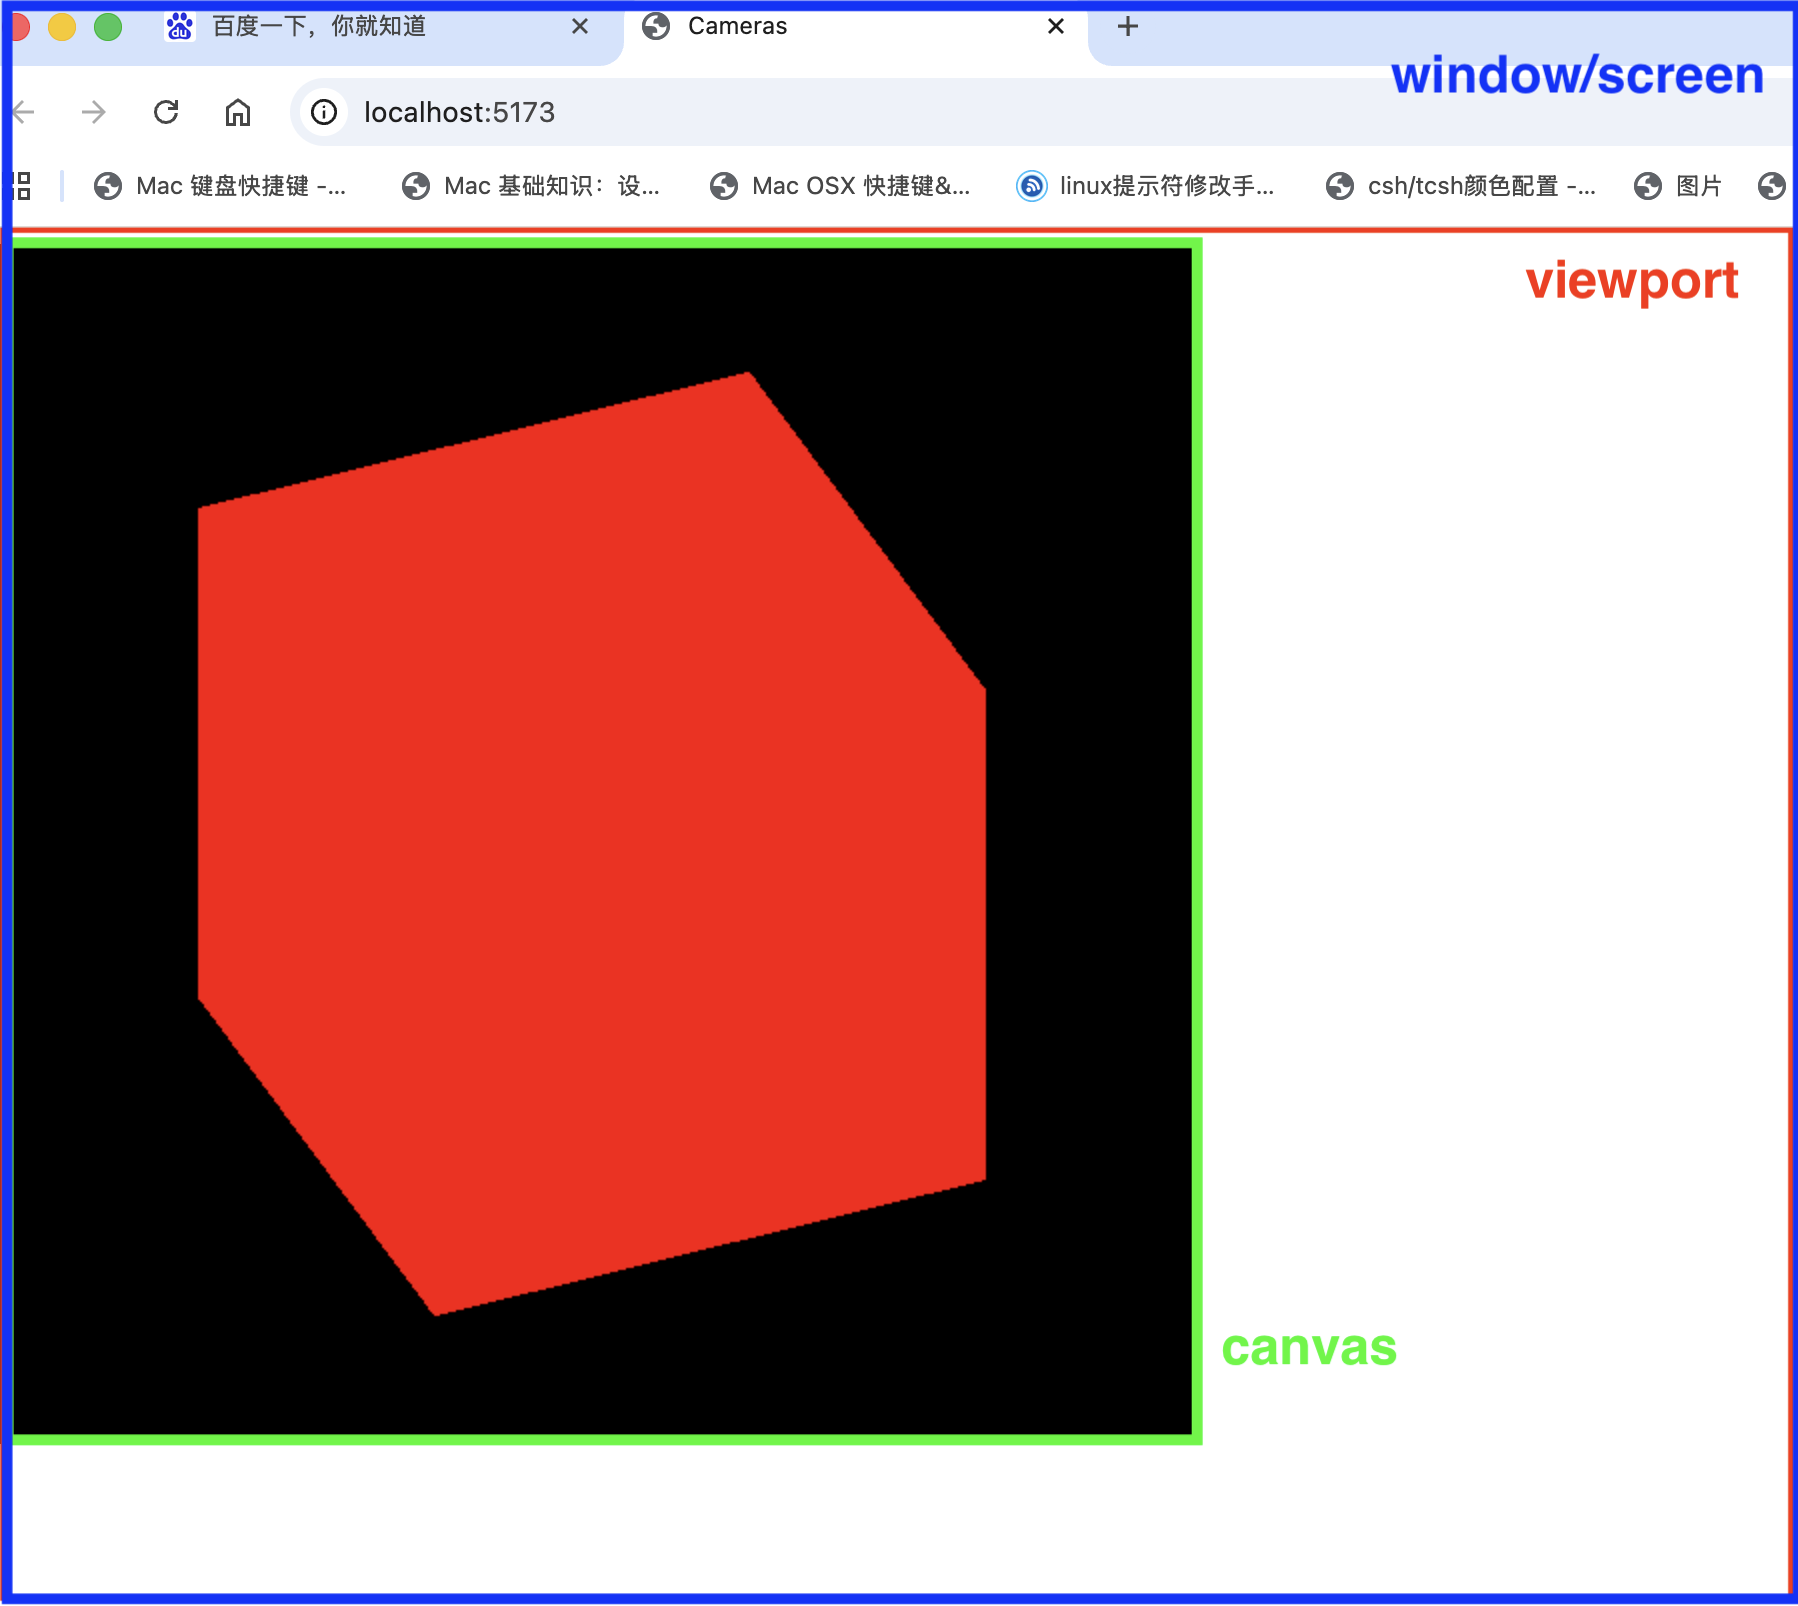
获取视口viewport尺寸
window.innerWidthwindow.innerHeight
将画布尺寸改成视口大小
1 | const canvas = document.querySelector('canvas.webgl'); |
`
窗口滚动(滚动条)和物体滚动(相机视角)出现冲突
-
浏览器默认样式:html中body标签存在margin边距(黑色画布和视口之间的白色边界区域)。
-
修改
.css文件,或添加样式文件src/style.css, 使用外卡*将所有标签元素的边界和填充样式置0。1
2
3
4
5
6
7
8
9
10
11
12
13
14
15
16
17
18
19
20
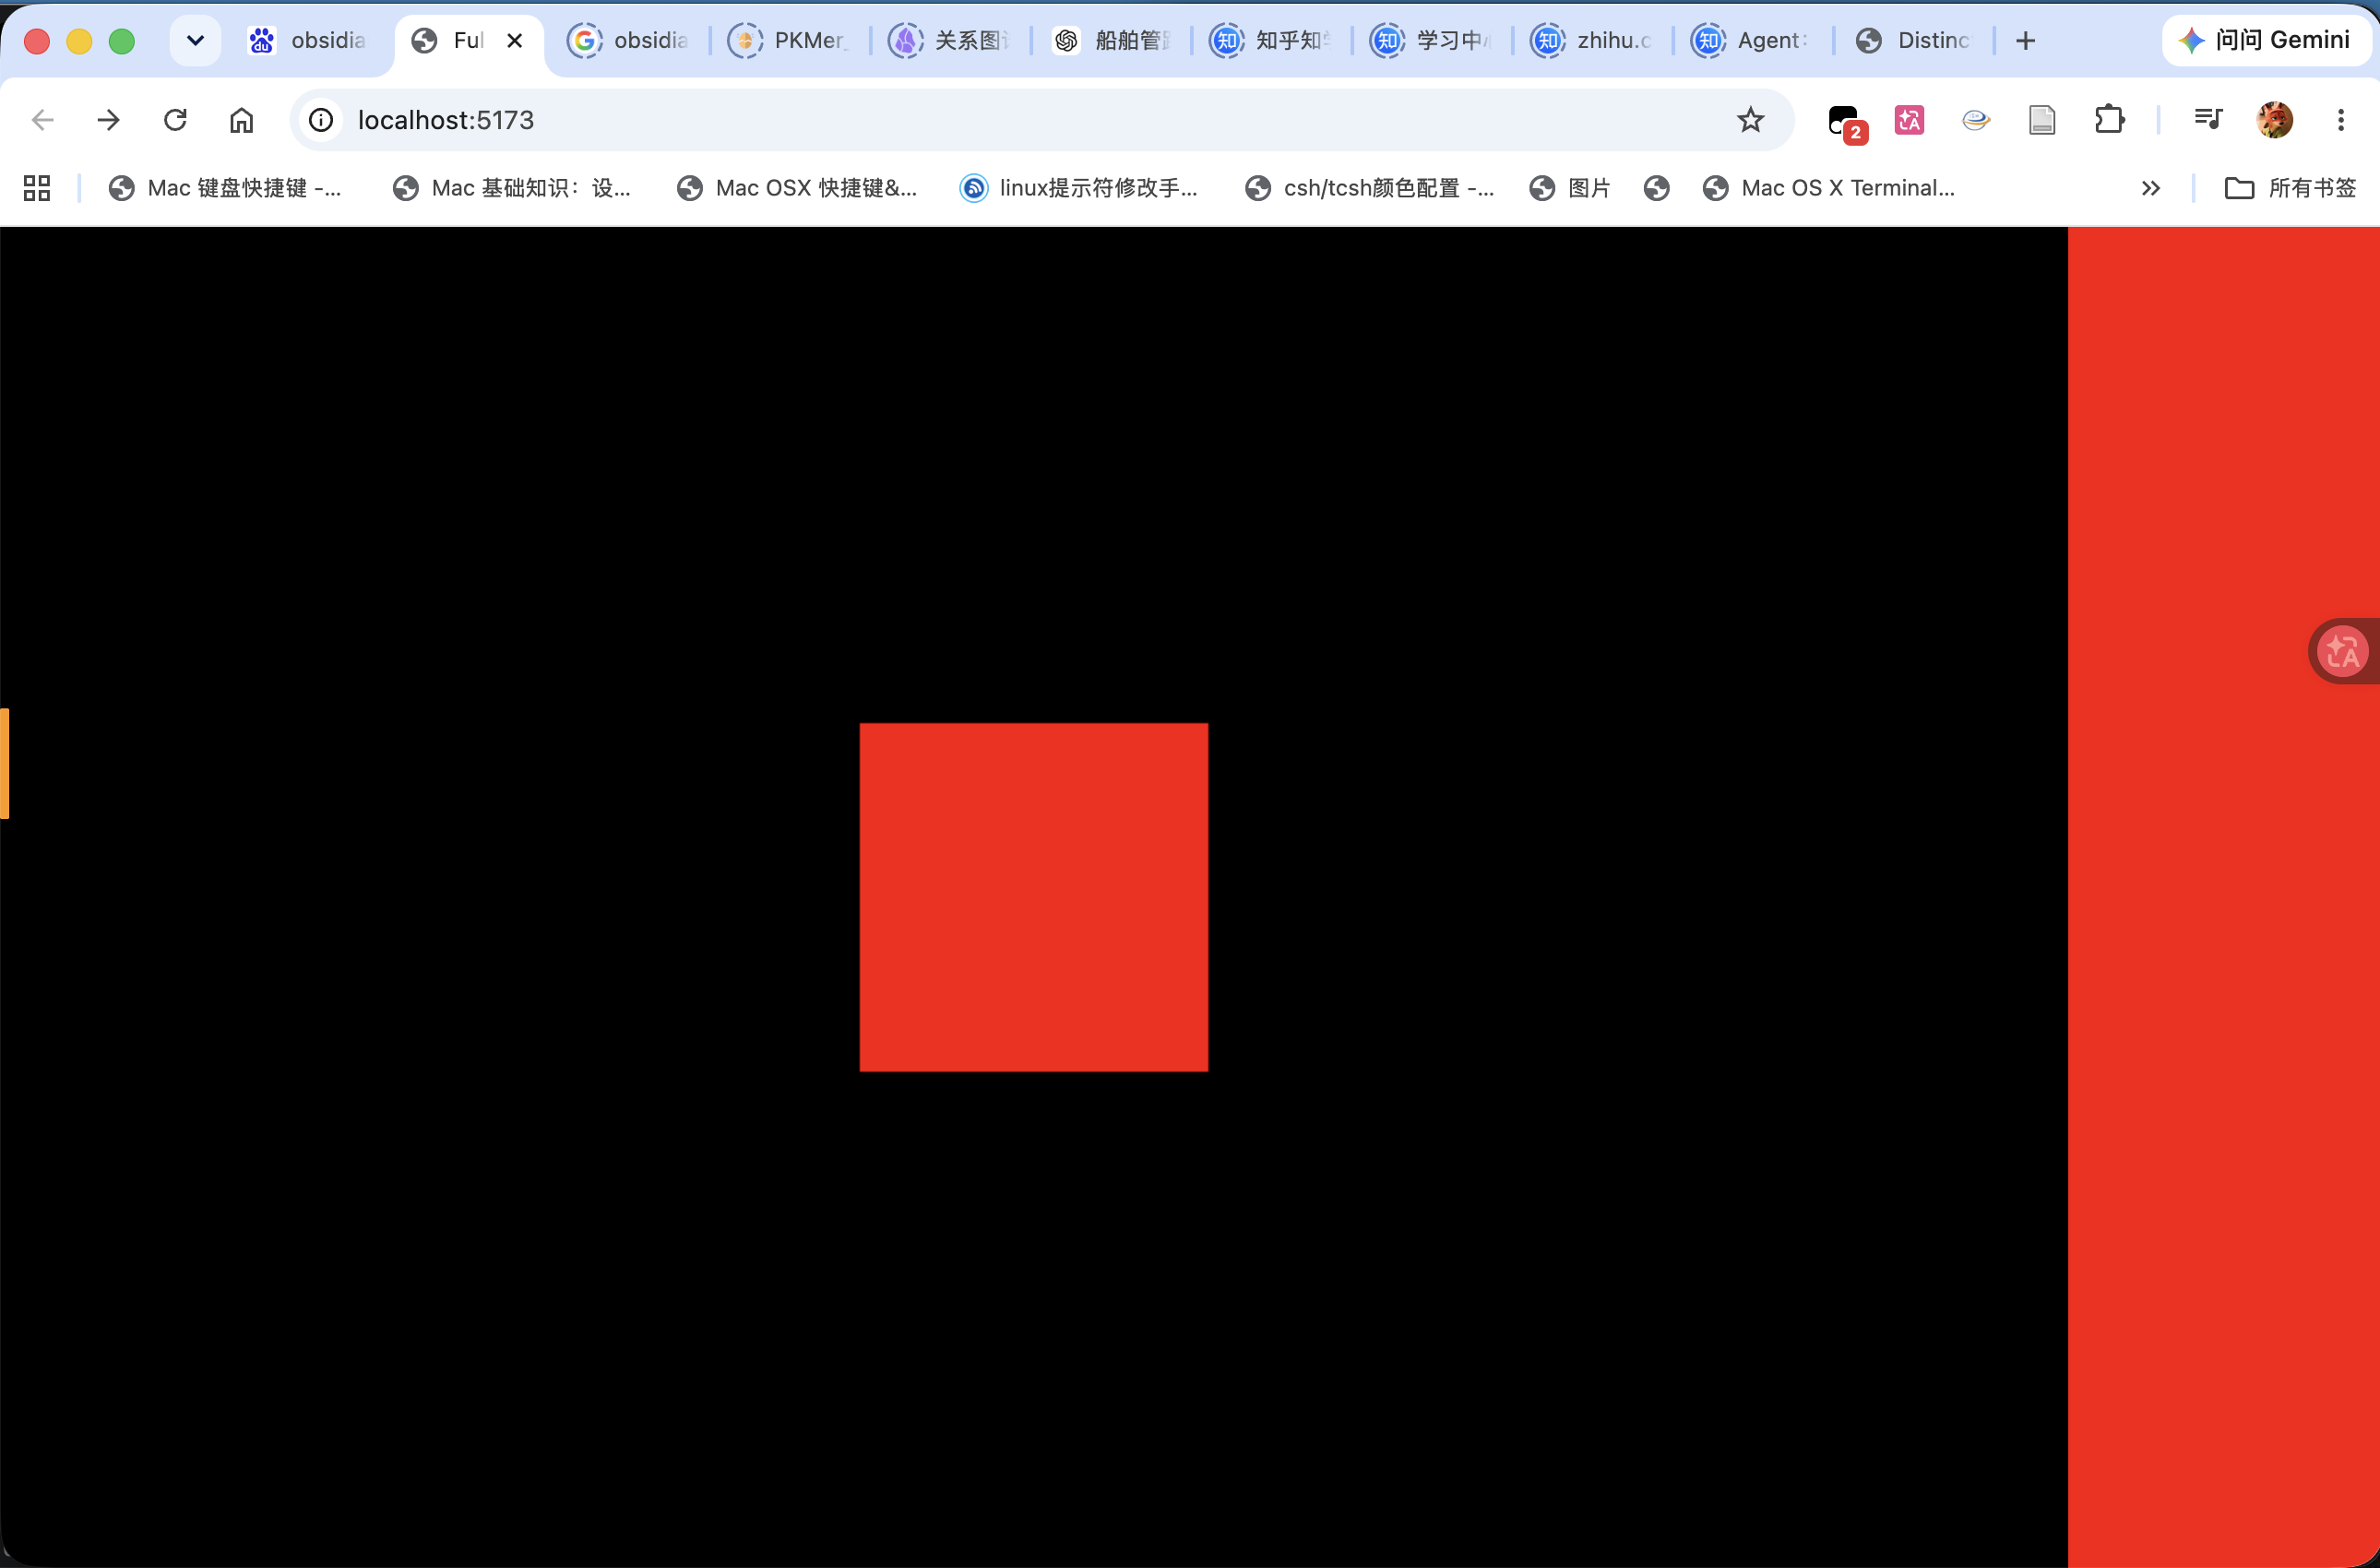
21body {
background: red;
}
/*
外卡 *消除边界和填充样式的距离
*/
* {
margin:0;
padding:0;
}
/*
设置canvas的样式,固定位置,左上点坐标=>去掉滚动条
canvas的类名webgl, 用.webgl引用html中的同类名标签
*/
.webgl {
position: fixed;
top: 0;
left: 0;
outline:none; /* 取消蓝色轮廓画布 */
} -
在
.js文件中导入.css文件1
import './style.css'
对于macos 系统使用trackpad,当禁用OrbitControls(controls.enabled = false)时三指移动,页面滚动会超过窗口范围,这不够沉浸
- 不让页面滚动,对html和body元素添加
overflow: hidden样式1
2
3html, body {
overflow: hidden; /* 禁止滚动条 */
}
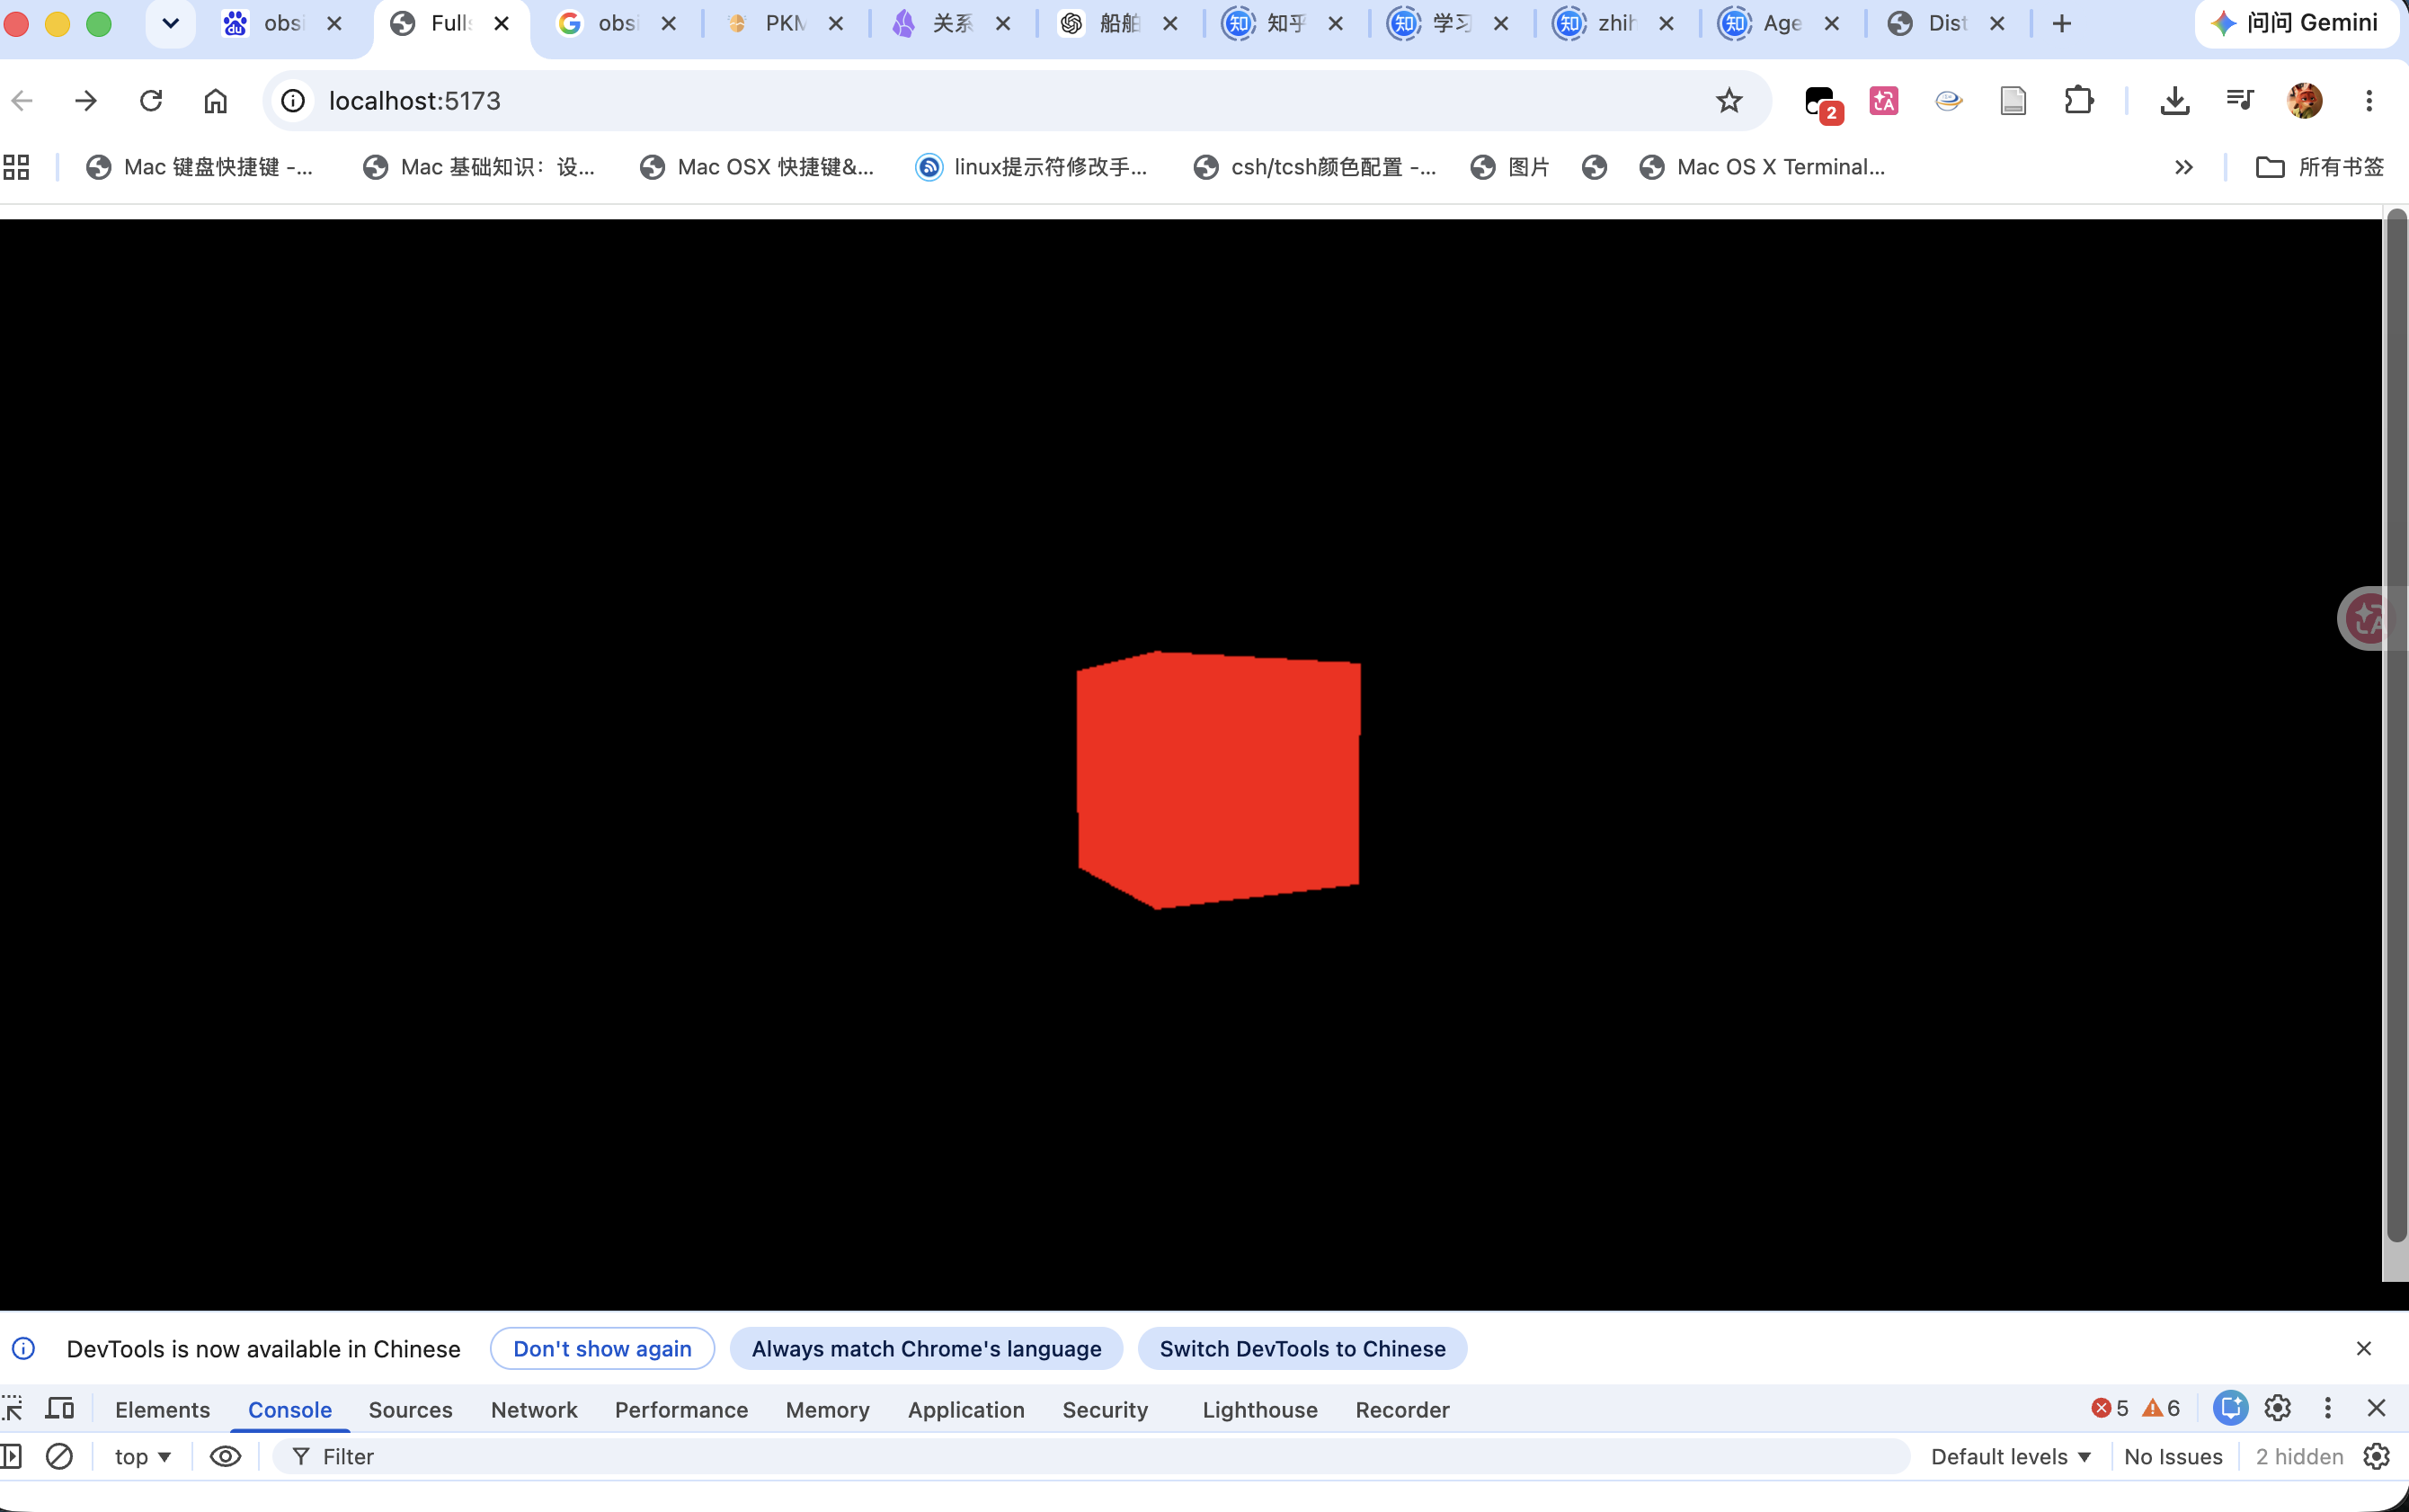
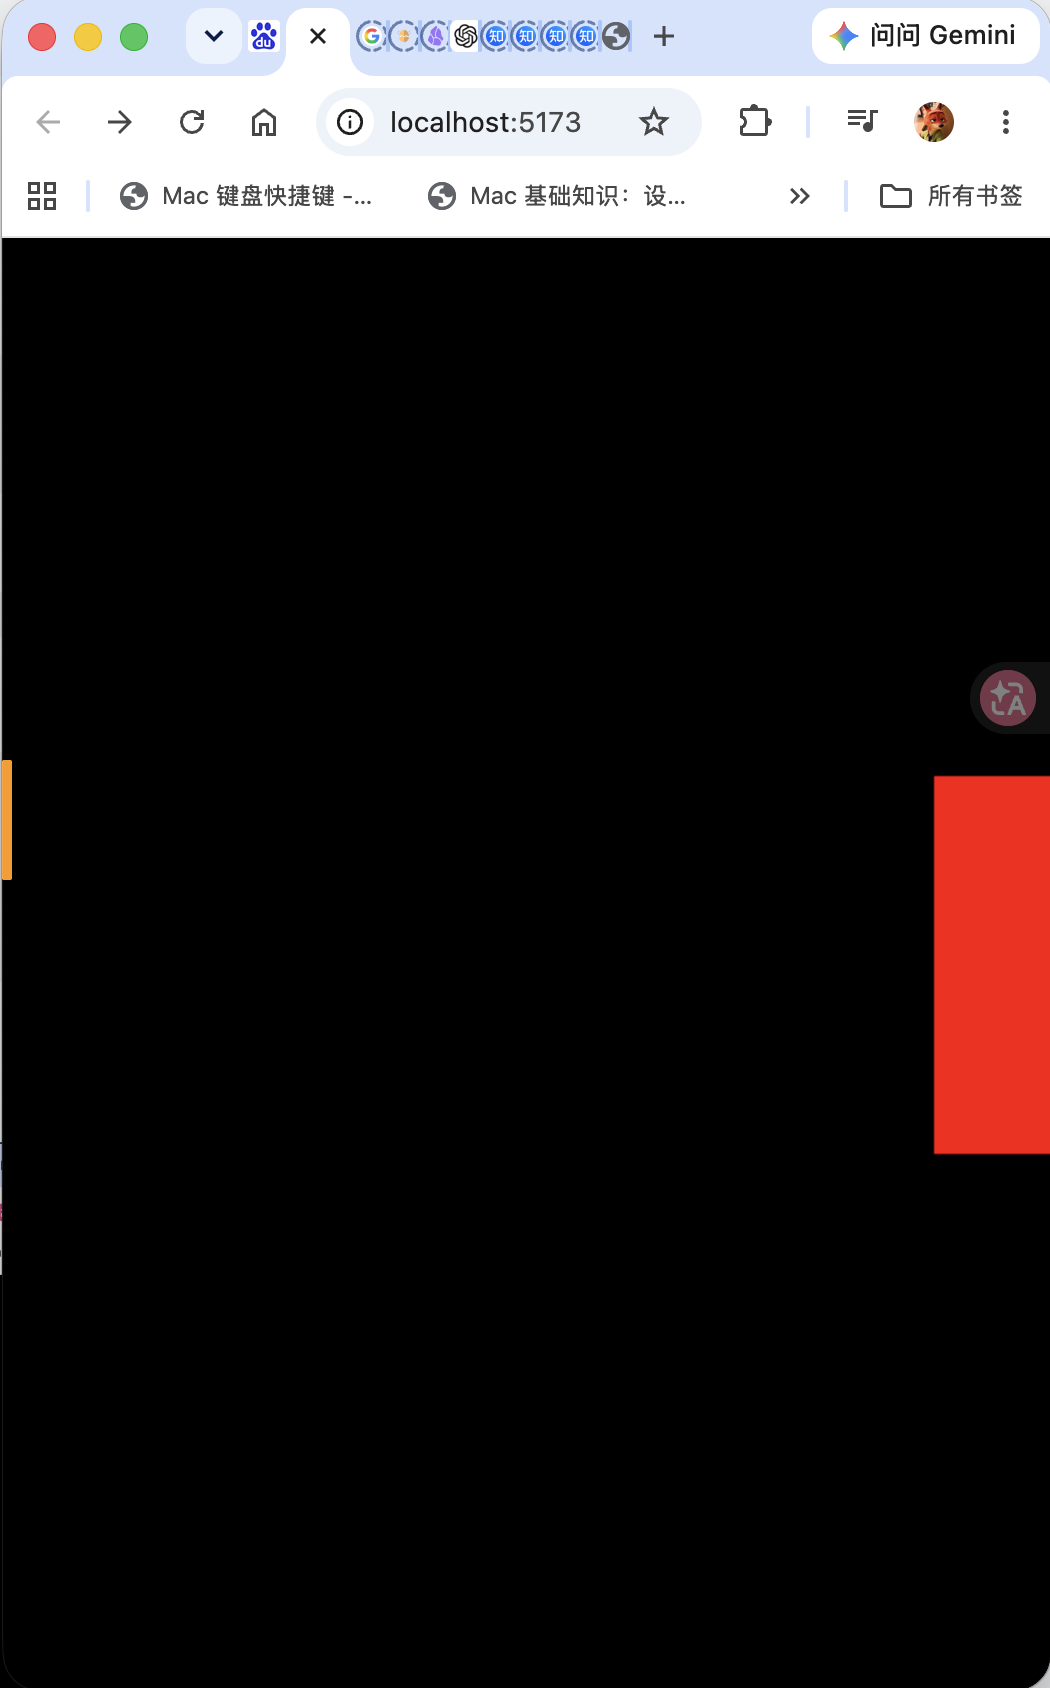
当扩大窗口时,canvas和窗口之间的边界出现边界;当缩小窗口时,canvas中物体就被覆盖掉的问题
[!multi-column|wide-view]
- 监听窗口大小变化事件resize event, 并给出槽函数处理事件
1
2
3
4
5
6
7
8
9
10
11
12window.addEventListener('resize', () => {
// Update sizes
sizes.width = window.innerWidth
sizes.height = window.innerHeight
// Update camera,变化窗口尺寸物体也跟着变化尺寸
camera.aspect = sizes.width / sizes.height
camera.updateProjectionMatrix() //相机参数更改后要更行他的投影矩阵才能生效,这样我们做的位置移动、旋转、放缩、和矩阵调节才会生效,three.js会做背后的数学计算
// Update renderer,窗口尺寸变化后不再有canvas和窗口
renderer.setSize(sizes.width, sizes.height)
})
Pixel Ratio
有时候看到渲染的模糊以及在边界处有阶梯效应,这都是因为pixel ratio(物理像素个数比软像素个数)大于1。
- 像素比1意味着用一个物理像素渲染一个软像素
- 像素比2意味着用4倍多的物理像素渲染一个软像素
- 像素比3意味着用9倍多的物理像素渲染一个软像素
- 更高的像素比一般用在弱设备上例如移动设备
- 获取当前的像素比
window.devicePixelRatio - 修改并更新渲染器的像素比
renderer.setPixelRatio(window.devicePixelRatio)
1 | /* |
全屏
假设需要双击屏幕实现窗口全屏和还原切换
- 需要增加双击事件监听
- 判断当前文件是否处于全屏状态
document.fullscreenElement - 对画布canvas(可以是文件页面中的任何元素)请求全屏
requestFullscreen() - 退出全屏
document.exitFullscreen()
1 | window.addEventListener('dbclick', ()=>{ |
- 针对safari浏览器上述方法无法起到全屏效果
webkitRequestFullscreen是 WebKit 浏览器(如旧版 Safari 和 Chrome)对全屏 API 的非标准前缀(prefix)方法,现代开发中应优先使用标准的element.requestFullscreen()并兼容处理旧版本。
1
2
3
4
5
6
7
8
9
10
11
12
13
14
15
16
17
18window.addEventListener('dbclick', ()=>{
const fullscreenElement = document.fullscreenElement || document.webkitFullscreenElement;
if (!fullscreenElement){
if (canvas.requestFullscreen){
canvas.requestFullscreen();
} else if (canvas.webkitRequestFullscreen) {
canvas.webkitRequestFullscreen();
}
} else {
if (document.exitFullscreen){
document.exitFullscreen();
} else if (document.webkitExitFullscreen){
document.webkitExitFullscreen();
}
}
});